How often do you need to clean a humidifier?
Introduction
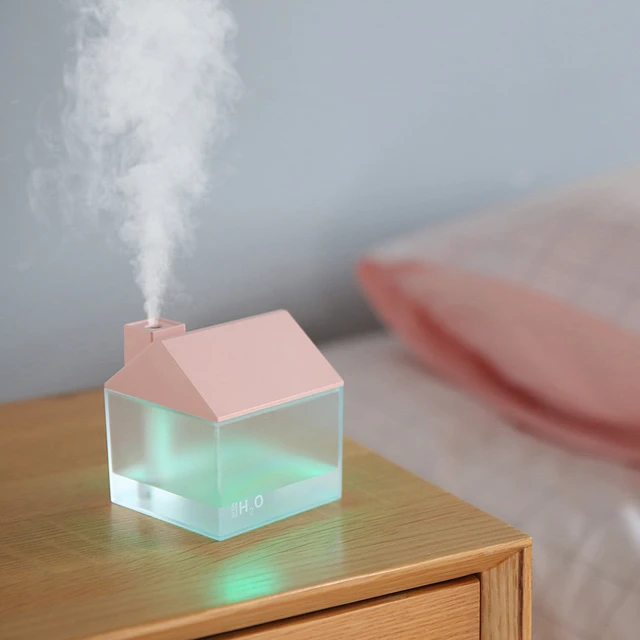
Humidifiers are effective tools for adding moisture to indoor air, improving air quality, and alleviating respiratory issues. However, regular maintenance and cleaning are essential to ensure the optimal functioning of these devices and prevent the growth of bacteria, mold, and other pollutants. In this guide, we will provide a comprehensive overview of how often you should clean a humidifier, the importance of regular cleaning, step-by-step cleaning instructions, and tips for keeping your humidifier in top condition.
How often do you need to clean a humidifier?
I. Importance of Regular Cleaning
-
Preventing Bacterial and Mold Growth:
- Regular cleaning helps prevent the buildup of bacteria, mold, and other microorganisms in the water tank and on the surfaces of the humidifier. These pollutants can be harmful when released into the air, potentially leading to respiratory issues or exacerbating existing conditions.
-
Maintaining Efficiency and Performance:
- Over time, mineral deposits and residue from hard water or impurities can accumulate in the humidifier. Regular cleaning removes these deposits, allowing the device to operate at its optimal efficiency and moisturizing capabilities.
-
Extending the Lifespan:
- Cleaning your humidifier regularly helps prevent the damaging effects of mineral buildup and microbial growth, which can lead to malfunctions or deterioration over time. By maintaining a clean and well-maintained humidifier, you can prolong its lifespan and ensure long-term functionality.

II. Frequency of Cleaning
-
Daily Maintenance:
- It is recommended to perform a few daily maintenance tasks to keep your humidifier in good condition. This includes regularly emptying and refilling the water tank with fresh, clean water to prevent stagnation and microbial growth.
-
Regular Deep Cleaning:
- In addition to daily maintenance, deep cleaning should be performed at regular intervals, typically every one to two weeks, depending on usage and environmental factors. This ensures thorough removal of impurities and buildup that can accumulate over time.
III. Step-by-Step Cleaning Process
-
Switch Off and Unplug the Humidifier:
- Before cleaning your humidifier, ensure that it is switched off and unplugged to eliminate the risk of electrical shock.
-
Empty the Water Tank:
- Remove the water tank from the humidifier and empty any remaining water. Inspect the tank for any mineral buildup or residue.
-
Disassemble the Humidifier:
- Follow the manufacturer’s instructions and disassemble the humidifier, removing any detachable parts such as the water tank, misting nozzle, and filter. Take note of the specific parts that require cleaning, as this may vary depending on the humidifier model.
-
Rinse the Water Tank and Parts:
- Thoroughly rinse the water tank and other removable parts with clean, warm water to remove any loose debris or mineral buildup. Use a soft brush or cloth to gently scrub away any stubborn residue.
-
Clean with Mild Detergent or Vinegar Solution:
- Prepare a cleaning solution by mixing mild detergent or white vinegar with water. The ratio may vary, but a common recommendation is one part detergent/vinegar to ten parts water. Use this solution to clean the water tank, nozzle, and other parts according to the manufacturer’s instructions.
-
Rinse Thoroughly:
- After cleaning with the detergent or vinegar solution, rinse all parts thoroughly with clean water to remove any residue or cleaning agents. This step is crucial to ensure that no detergent or vinegar remains in the humidifier, as this can be harmful if released into the air.
-
Disinfecting:
- To further prevent bacterial growth, consider disinfecting the water tank and other components. You can use a solution of hydrogen peroxide mixed with water or a disinfecting tablet specifically designed for humidifiers. Follow the manufacturer’s instructions regarding the appropriate concentration and exposure time for disinfection.
-
Dry and Reassemble:
- After cleaning and disinfecting, allow all parts to dry completely. Use a clean cloth or allow them to air dry in a well-ventilated area. Once dry, reassemble the humidifier according to the manufacturer’s instructions.
-
Final Inspection and Testing:
- Before using the humidifier again, perform a final inspection to ensure that all parts are properly reassembled and free from debris or residue. Fill the water tank with clean water and test the humidifier to ensure it is functioning correctly.
IV. Additional Tips for Maintenance
-
Use Distilled or Filtered Water:
- The quality of the water used in your humidifier can impact its performance and cleanliness. Whenever possible, use distilled or filtered water to minimize mineral buildup and reduce the likelihood of impurities.
-
Clean and Replace Filters:
- If your humidifier has a filter, refer to the manufacturer’s guidelines regarding cleaning and replacement. Regularly check the filter and clean or replace it as needed to maintain optimal performance and air quality.
-
Regularly Monitor and Refill Water:
- Regularly check the water level in your humidifier and refill it as needed. This helps prevent the water tank from running dry, minimizing the risk of damage to the humidifier and ensuring consistent moisture output.
-
Clean the Surrounding Area:
- Pay attention to the area surrounding the humidifier and ensure it remains clean and free from dust or dirt. Regularly wipe down surfaces to reduce the accumulation of airborne particles and maintain air quality.
VI. Signs that Your Humidifier Needs Cleaning
-
Visible Buildup and Deposits:
- If you notice visible mineral deposits, residue, or discoloration on the surfaces of your humidifier, it’s a clear indication that cleaning is necessary. These deposits can obstruct the flow of mist and reduce the device’s effectiveness.
-
Unpleasant Odor:
- A lingering unpleasant odor emitted from the humidifier may indicate the presence of bacteria, mold, or other contaminants. Regular cleaning helps eliminate these odors and maintain a fresh and clean environment.
-
Decline in Performance:
- If you observe a decrease in the humidity levels or moisture output from your humidifier, it may be a signal that the device requires cleaning. Mineral buildup or clogged components can hinder the proper functioning of the device.
-
Allergic Reactions or Respiratory Symptoms:
- If you or your family members experience an increase in allergy symptoms or respiratory issues when the humidifier is in use, it may be due to the presence of contaminants in the air. Cleaning the humidifier can help alleviate these symptoms and ensure healthier air quality.
V. Conclusion: A Clean and Well-Maintained Humidifier
Regular maintenance and cleaning are necessary for keeping your humidifier in optimal condition and ensuring the quality of air it produces. By following a consistent cleaning routine, performing daily maintenance, and conducting regular deep cleaning, you can prevent the growth of bacteria, mold, and other pollutants, maintain the efficiency of your device, and prolong its lifespan.
Remember to consult the manufacturer’s instructions regarding cleaning and specific maintenance requirements for your humidifier model. With proper care, your humidifier will continue to provide the benefits of improved air quality and optimal humidity levels in your home or workspace.