Projector Screen: Home Theater or Outdoor Use
Types of Projector Screens
Choosing the right type of projector screen is crucial for achieving optimal viewing results. Below are the main types to help you decide which fits your needs best.

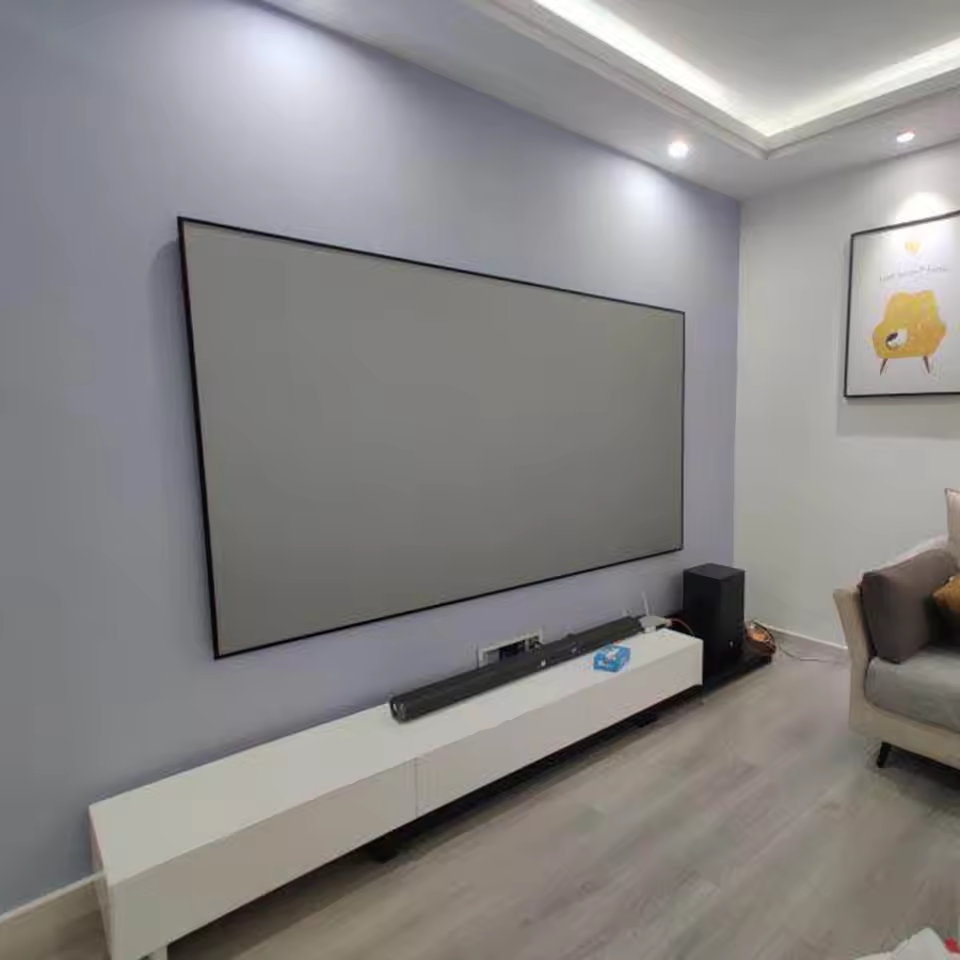
Fixed Frame Screens
Fixed frame screens are permanently mounted to a wall or frame. They offer an excellent flat surface, ensuring consistent image quality. These screens are ideal for dedicated home theaters or spaces with ample room. However, they are not portable and require permanent installation.
Motorized Screens
Motorized screens feature a motor-driven mechanism that rolls the screen up or down. They are great for multi-purpose rooms where you need to save space. With just a remote or wall switch, you can deploy the screen effortlessly. These screens cost more due to their automated functionality.
Portable Screens
Portable screens are lightweight and easy to move. They vary in design, such as tripod-mounted or pull-up models. These screens are perfect for people needing flexibility or for outdoor events. However, they may lack the sturdiness and image uniformity of fixed screens.
Pull-Down Screens
Pull-down screens are mounted on walls or ceilings and can be manually pulled down when needed. They are affordable and space-saving, making them suitable for classrooms or small spaces. Compared to motorized screens, they require more manual effort and may not always be as smooth in operation.
DIY Projector Screens
DIY screens let you craft customized projection surfaces with materials like blackout cloth or painted walls. This option is budget-friendly and flexible for specific requirements. However, the effort and results depend on your craftsmanship and materials used.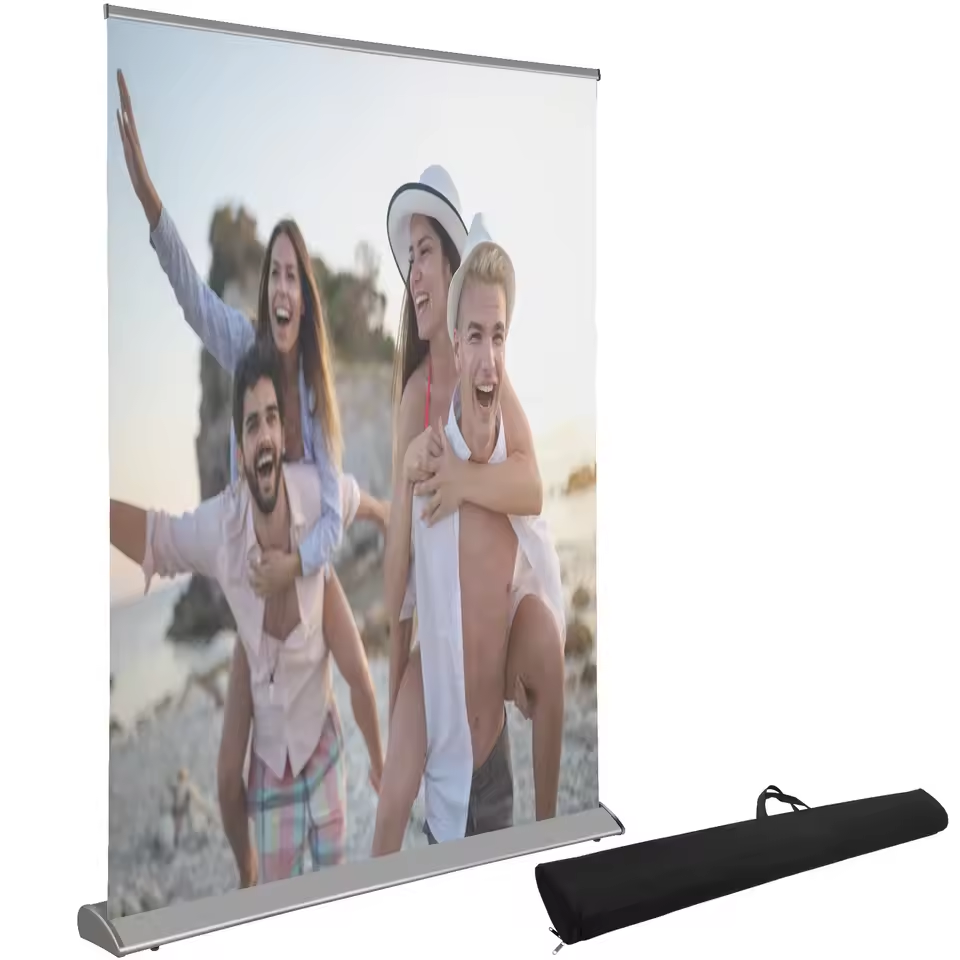
Factors to Consider When Choosing a Projector Screen
Choosing the ideal projector screen depends on several crucial factors. Assessing these factors ensures optimal viewing experiences and enhances your screen’s effectiveness.
Screen Size and Aspect Ratio
Screen size determines the viewing area, while aspect ratio defines width-to-height proportions. Larger screens suit big rooms, while smaller screens work well for compact spaces. Common aspect ratios include 16:9 for widescreen videos and 4:3 for presentations. Ensure compatibility with the projector and intended content.
Gain and Viewing Angle
Screen gain measures how much light the screen reflects back to viewers. High-gain screens are brighter but limit side-view clarity. Viewing angle ensures all viewers enjoy a clear image, even from different locations. Consider both factors to match room layout and audience size.
Material Quality
Screen material influences image sharpness, clarity, and durability. Choose durable materials for frequent use or outdoor events. For premium viewing, look for materials that enhance color correctness and reduce glare. Always opt for top-quality materials that support your projector type.
Ambient Light Resistance
Ambient light can interfere with projector brightness. Choose screens designed to resist light from windows, lamps, or other sources. For well-lit rooms, consider specialized ambient-light-rejecting screens to maintain image clarity.
Compatibility with Projector Type
Not all screens suit every projector model. Check for compatibility with your projector’s resolution and brightness. Ensure the screen enhances its capabilities without compromising quality. Pairing the right projector with the right screen is crucial for the best results.
Best Screen Materials for Projection
Choosing the right screen material is vital for achieving the best projection quality. Different materials offer unique benefits, depending on your viewing environment and projector type.
Matte White Screens
Matte white screens are widely used for their balanced image quality. They provide excellent color reproduction and wide viewing angles. These screens work well in environments with controlled lighting. Matte white is suitable for both home theaters and professional presentations. Additionally, they are affordable and compatible with most projectors.
High Gain Screens
High gain screens enhance image brightness by reflecting more light. They are ideal for rooms with ambient lighting. However, they may limit viewing angles, so placement is important. These screens are best for viewers seated directly in front of the screen. If you need extra brightness without upgrading your projector, high gain screens are a smart choice.
Tensioned Screens
Tensioned screens ensure a perfectly flat surface for clear and distortion-free viewing. They use a stretched mechanism to eliminate wrinkles or waves. These screens are ideal for high-definition and 4K projections. Tensioned screens work well in permanent home theater setups. While they cost more, the superior image quality justifies the investment.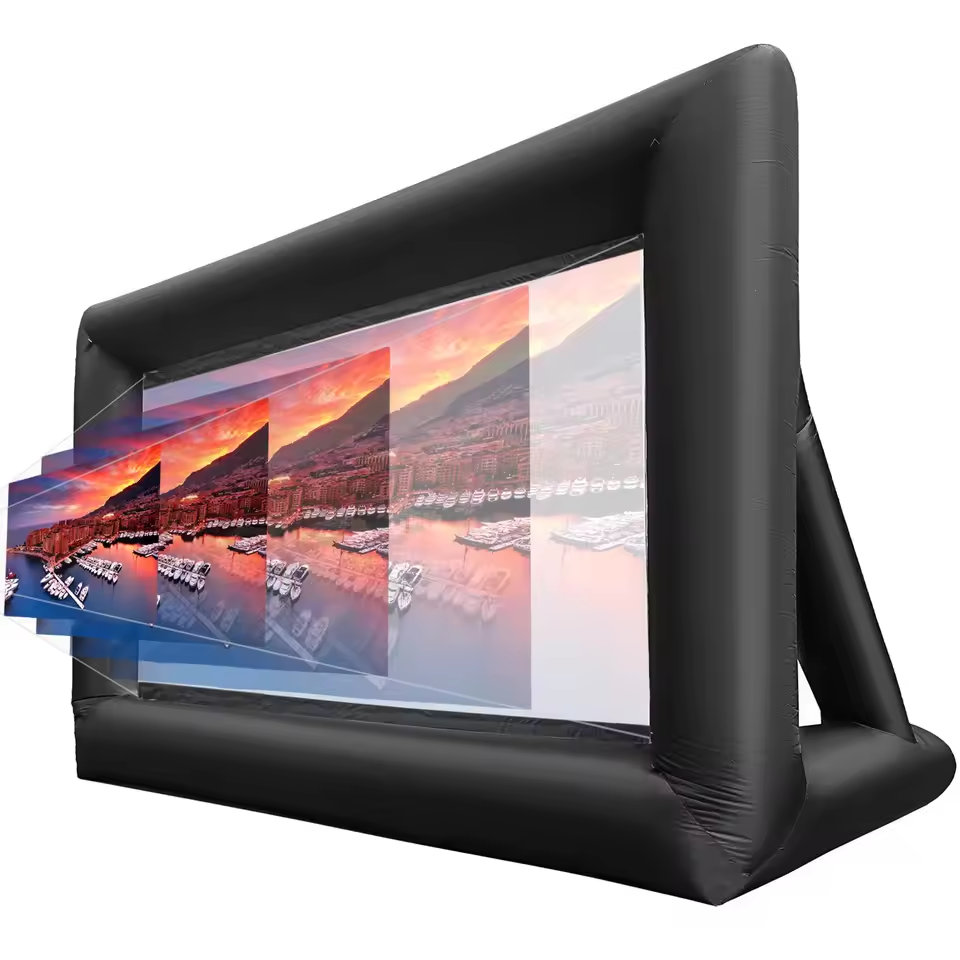
Comparing Wall vs. Dedicated Projector Screens
When deciding how to project your images, it’s vital to weigh using a wall versus a dedicated projector screen. Each option has its unique benefits and drawbacks, depending on your needs.
Pros and Cons of Using a Wall
Pros:
- Cost-Effective: Walls are free to use and require no additional investment.
- No Setup Required: You don’t need to install or move a screen.
- Flexible Coverage Area: You can project on large or small parts of a wall based on your preference.
Cons:
- Poor Surface Quality: Walls often have textures, cracks, or uneven surfaces.
- Image Loss: Colors and brightness may appear dull and inconsistent.
- Limited Optimization: Walls don’t enhance image sharpness or contrast like specialized screens.
Advantages of Dedicated Screens
- Consistent Image Quality: Screens provide a smooth and uniform surface for projection.
- Enhanced Brightness and Contrast: Special materials enhance light reflection and image sharpness.
- Wide Viewing Angles: Dedicated screens ensure clear visuals from different room positions.
- Durability: High-quality screens are designed to last through frequent use.
- Custom Options: You can choose different sizes, materials, and features to suit specific rooms.
Choosing between a wall and a dedicated projector screen depends on your budget, space, and viewing needs. While walls are accessible and cost-efficient, dedicated screens deliver superior, optimized picture quality for a premium viewing experience.
Projector Screen Setup and Placement Tips
Proper setup and placement ensure the best picture quality and comfortable viewing experience. Follow these tips to get the most out of your projector screen.
Ideal Screen Height
- Eye-Level Positioning: Place the screen so the center aligns with viewers’ eye level.
- Minimum Tilt: Avoid tilting the screen to prevent image distortion.
- Consider Audience Size: For larger audiences, raise the screen slightly for better visibility.
- Wall Mounting: When wall-mounting, ensure it’s stable and securely fixed.
Optimal Distance from Projector
- Follow Throw Ratio: Check your projector’s throw ratio to determine the correct distance.
- Avoid Shadows: Place the projector far enough to avoid casting shadows.
- Room Size: Adjust distance to fit the room size and screen dimensions.
- Zoom Lens: Use zoom features if available for flexible projector placement.
Ensuring Proper Alignment
- Center the Image: Align the projector lens with the center of the screen.
- Level Surface: Place both the projector and screen on level surfaces.
- Keystone Adjustments: Use keystone correction sparingly to avoid quality loss.
- Test Viewing Angles: Ensure all viewers can see the image clearly from any position.
Taking these simple steps ensures an enhanced and comfortable viewing experience every time.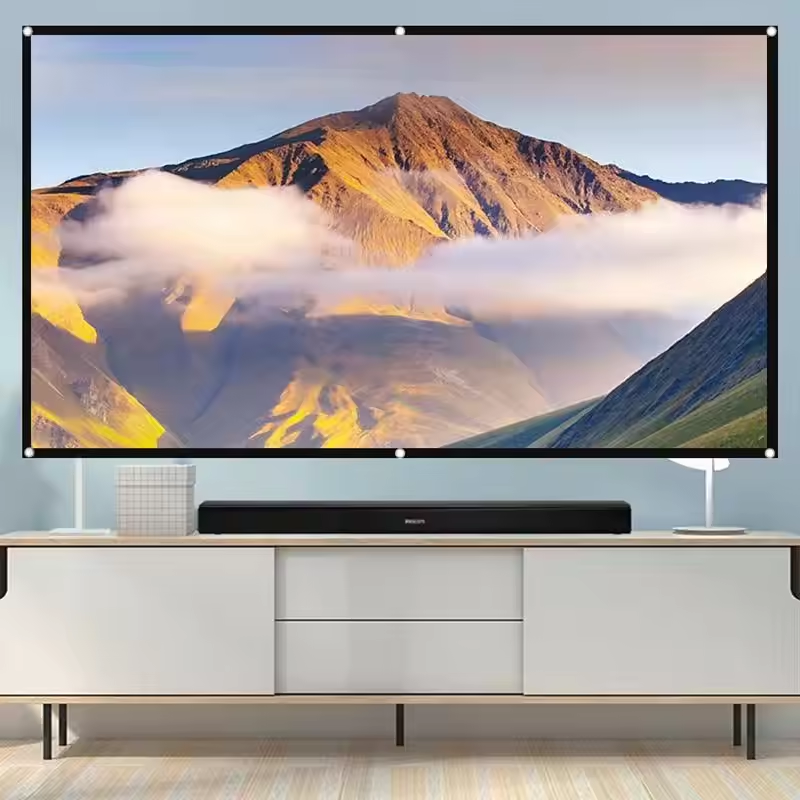
Maintenance and Care for Your Projector Screen
Proper maintenance extends the life of your projector screen. Follow these tips to keep it in top shape.
Cleaning Guidelines
- Use a Soft Cloth: Clean the screen with a soft, lint-free cloth to avoid scratches.
- Avoid Harsh Chemicals: Use mild soap and water for cleaning. Do not use strong detergents.
- Gentle Wiping: Wipe in a straight motion. Do not scrub as it may damage the screen material.
- Regular Dusting: Dust the surface regularly to prevent dirt buildup.
- Check Manufacturer Instructions: Follow specific cleaning instructions for your screen material.
Storage Tips for Portable Screens
- Store in a Cool, Dry Place: Avoid damp conditions to prevent mold and material degradation.
- Use a Protective Bag: Keep portable screens in protective bags to shield them from scratches and dirt.
- Roll or Fold Carefully: Follow the recommended method for storing, either rolling or folding.
- Avoid Heavy Objects: Do not place heavy items on top of stored screens.
- Inspect Before Storage: Check for damage or dirt before putting the screen away.
Avoiding Screen Damage
- Keep Pets Away: Prevent pets from scratching or damaging the screen.
- Watch for Sharp Objects: Ensure the screen doesn’t come into contact with sharp or abrasive items.
- Protect from Direct Sunlight: Prolonged sun exposure can warp or fade the screen material.
- Don’t Over-Tighten: When mounting, do not over-tighten as it may tear the screen.
- Handle with Care: Always handle the screen with clean and dry hands to prevent stains.
By following these maintenance steps, you can enjoy a high-quality viewing experience for years.
Budget-Friendly Options and Alternatives
Not all projector screens must break your budget. You can find affordable options or creative alternatives that meet your needs. Below are some cost-effective strategies to enjoy an excellent viewing experience without over-spending.
Affordable Screen Models
Affordable projector screens offer good quality without a hefty price tag. Consider these budget-friendly models:
- Pull-Down Screens: These are widely available and cost-effective. They are perfect for classrooms and small spaces.
- Portable Screens: Lightweight and versatile, they work well for both indoor and outdoor use.
- Basic DIY Kits: Some brands offer economical kits that come with easy setup instructions.
- Compact Motorized Screens: Smaller motorized screens are now available at lower prices, though they lack premium finishes.
- Pre-Owned Screens: Gently used screens often provide excellent value. Check local marketplaces or online platforms.
DIY Screen Solutions
Creating your own projector screen saves money while offering customization. Here are a few simple DIY ideas:
- Blackout Cloth: Mount blackout cloth to a wooden frame for a flat, smooth screen surface.
- Painted Wall: Use projector screen paint for an instant flat and reflective projection surface.
- White Bedsheet: Stretch a thick white bedsheet across a frame. Though simple, it works in a pinch.
- Plastic Sheets: Choose high-quality plastic sheets as a durable and water-resistant option.
- Roll-Up Shades: Use reflective window shades as a quick and easy screen alternative for casual viewing.
DIY screens are ideal for those who love hands-on projects and want customizable sizes and styles.
Renting vs. Buying a Projector Screen
Renting a projector screen can be smarter for infrequent use. Here’s how they compare:
Renting Projector Screens:
- Cost-Effective: Pay only for the time you use the screen.
- Ideal for Events: Great for weddings, business meetings, or outdoor movie nights.
- Access to Premium Models: Enjoy high-quality screens without investing in ownership.
Buying Projector Screens:
- Better for Frequent Use: Regular users benefit more from owning a screen.
- Long-Term Cost Savings: Avoid repeated rental fees and hassles.
- Customization: Own exactly what you need in terms of size and style.
Weigh your needs carefully to decide whether renting or buying is more economical for your situation. With these budget-friendly ideas, you can enjoy excellent projection quality without spending much.