Clothes Dryer Parts: Replace the Most Common Faulty Ones
Introduction: Understanding Clothes Dryer Parts
When your clothes dryer fails to operate effectively, it can be frustrating and inconvenient. Knowing the essential clothes dryer parts is crucial for effective troubleshooting and repairs. From the heating element to the drum belt, understanding how each component works helps you diagnose issues and replace faulty parts as needed. This knowledge can not only enhance the performance of your dryer but also save you money on professional repairs. In this article, we will guide you through identifying and replacing the most common faulty parts in clothes dryers, ensuring you can handle the most frequently encountered issues with confidence.
 The Common Parts of a Clothes Dryer
A clothes dryer consists of various components, each playing a vital role in the drying process. Understanding these parts can substantially aid in your maintenance and repairs.
1. Heating Element
The heating element warms the air inside the dryer drum. When it fails, the dryer won’t produce sufficient heat, meaning your clothes will remain damp after a cycle.
- Symptoms of Failure: If clothes stay damp after a full drying cycle or if the dryer doesn’t feel warm inside, you likely have a heating element issue. This issue can lead to prolonged drying times that waste energy and increase your utility bills.
- How to Test and Replace: To test the heating element, unplug the dryer and remove the back panel to access the component. Use a multimeter to check for continuity. If it’s burnt out, removing it usually involves unscrewing a few screws. Install the new part in reverse order, ensuring all connections are secure.
2. Drum Belt
The drum belt connects the motor to the dryer drum, enabling it to spin. A worn or broken belt prevents the drum from rotating, which directly impacts drying effectiveness.
- Symptoms of Failure: If you hear the motor running but the drum isn’t spinning, inspect the belt. Slipping or fraying can often go unnoticed but leads to inefficient drying.
- How to Replace: Open the dryer’s front or top panel. Remove the front panel, which typically requires unscrewing several screws. After that, you might need to remove the drum for easier access. When placing the new belt, ensure it fits snugly around the motor pulley and drum.
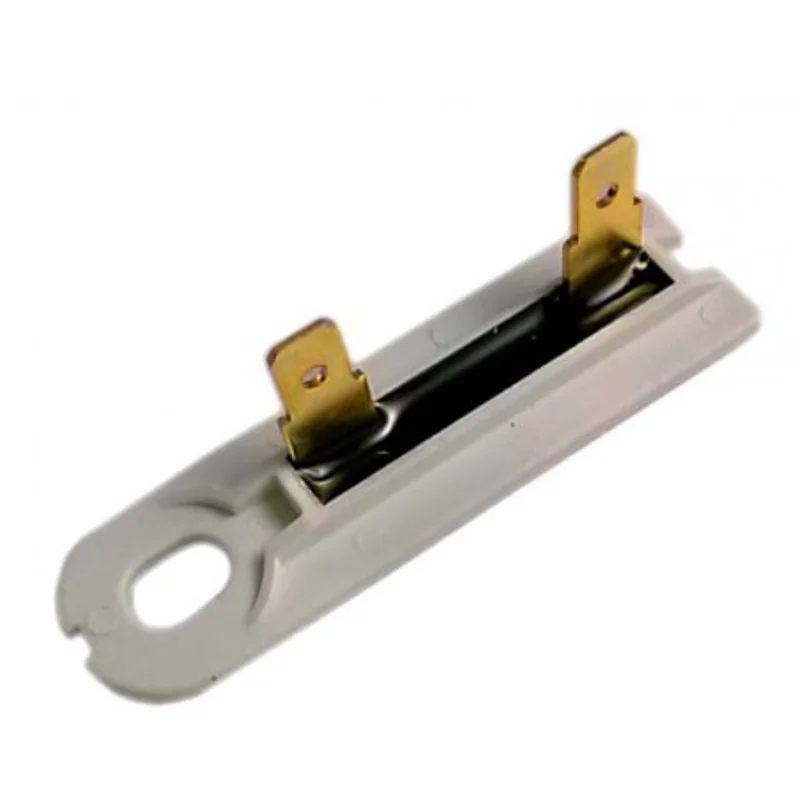
3. Thermostat
The thermostat is responsible for regulating the temperature inside the dryer. If it malfunctions, it can cause overheating or insufficient heating, leading to drying inefficiencies.
- Symptoms of Failure: This failure can manifest as the dryer becoming too hot or failing to heat at all. Watch for clothing that is occasionally burning or coming out damp after a full cycle.
- How to Replace: Locate the thermostat, which is usually situated near the heating element or behind the control panel. It may require you to consult the manual to find the exact position. Use a multimeter to check for functionality before replacing it, and ensure the dryer is unplugged during this process.
4. Lint Filter
A clogged lint filter can significantly decrease drying efficiency and pose a fire hazard, which is why regular maintenance is essential.
- Symptoms of Failure: If your drying times increase or clothes come out damp, check the lint filter for blockages. A visual inspection can help you catch this issue early.
- Maintenance Tips: Clean the lint filter before or after every use to prevent buildup. If the filter is damaged, consider replacing it. Some modern dryers also come with alerts that notify you when the lint filter needs cleaning, so check for features like these.
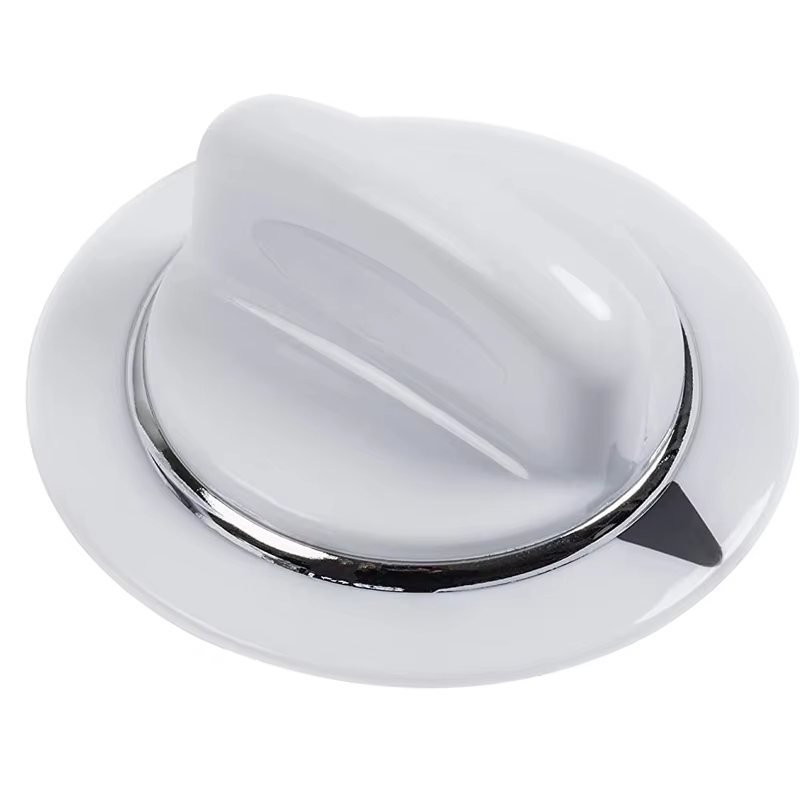
5. Door Switch
The door switch prevents the dryer from operating if the door is open. If it’s faulty, you may find that the dryer won’t start even when the door is properly shut.
- Symptoms of Failure: Here, the dryer may not start at all, or it may stop mid-cycle due to the switch malfunctioning. It can be inconvenient and may lead to frustration when you’re unsure of the issue.
- Replacement Process: Test the switch with a multimeter. If it fails the continuity test, you need to replace it. To do this, remove the screws from the door panel and replace the old switch with the new one after disconnecting the wiring.
6. Drum Rollers
Drum rollers are crucial for supporting the dryer drum. Over time, these parts can wear out, leading to excessive noise or difficulty in drum rotation.
- Symptoms of Failure: You may notice squeaking or squealing noises while the drum spins. If this occurs, inspect the drum support rollers for wear and tear as they might need replacing.
- Replacement Steps: Disconnect the dryer from power, access the internal compartment by removing the front panel, and check the rollers. Typically, you should replace all rollers at once to ensure balanced rotation. Lubricate them with a silicone-based lubricant for improved function.
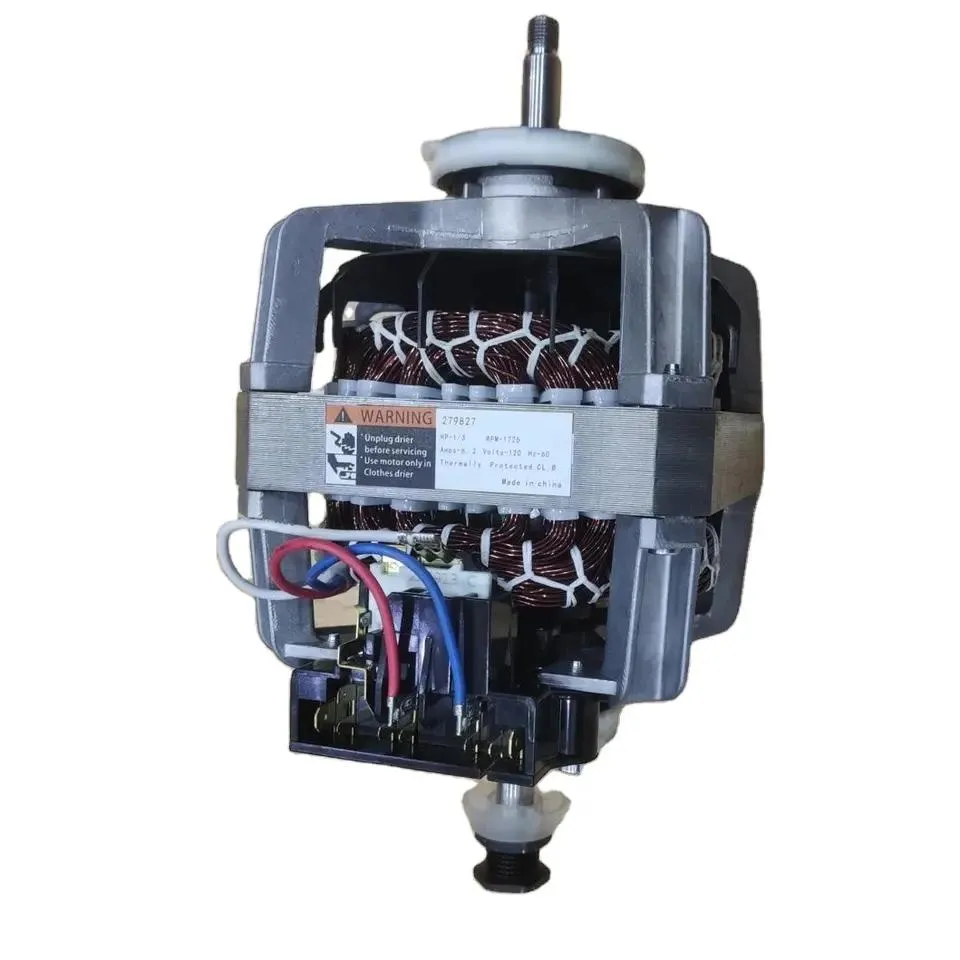
7. Drive Motor
The drive motor powers the drum and is crucial for operation. If it’s malfunctioning, your dryer won’t turn on, or it will stop mid-cycle, causing inconvenience.
- Symptoms of Failure: If the dryer won’t start or the drum doesn’t spin while the motor is running, it’s a clear sign of motor issues. Listen for unusual noises that may indicate wearing out.
- Replacement Process: To replace the motor, first, disconnect the power and then remove the dryer’s front panel. Next, disconnect the motor from its power source and take detailed notes of the wiring setup. Afterward, remove the screws securing it, and then install the new motor in reverse order, ensuring that all electrical connections are secure.
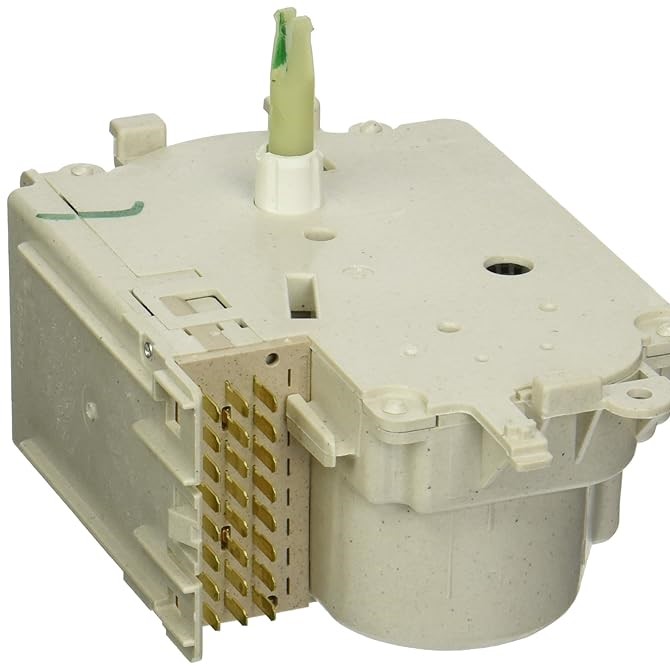
8. Control Board
The control board governs the dryer’s various functions and cycles. If it malfunctions, it can disrupt operations and affect the overall user experience.
- Symptoms of Failure: You might notice unresponsive controls, cycles that repeatedly fail to start, or odd beeping sounds during operation — all indicative of a problem with the control board.
- Replacement Steps: Carefully access the control board by removing the top panel. If you see visible signs of damage, it’s time to replace it. Ensure that you correctly connect all wires to the new board, following the manufacturer’s instructions closely.
 Diagnosing Clothes Dryer Problems
Proper diagnosis is key to effective repairs. Below are steps to follow to troubleshoot issues with your clothes dryer:
- Visual Inspection: Firstly, start with a thorough inspection of all components. Specifically, check for signs of wear, damage, or burnt parts, as these could indicate the specific problem area.
- Use a Multimeter: Testing electrical components with a multimeter can help you determine if they function as they should. For continuity checks, it’s critical to ensure the dryer is unplugged.
- Check Power Supply: Ensure that the dryer is properly plugged in and that the circuit breaker hasn’t tripped. Sometimes, a simple power reset can solve more issues than you might expect.
- Follow Up with User Manual: Your dryer’s user manual can offer insights into common issues and how to handle them effectively. Familiarize yourself with the troubleshooting section to help streamline the process.
- Listen for Unusual Noises: Pay attention to any unusual noises while the dryer runs. Identifying whether the sound is coming from the drum, the motor, or other components can lead you directly to the source of the issue.
 Maintenance Tips for Longevity
Proper maintenance can extend the life of your clothes dryer and ensure it operates at peak efficiency. Here are some best practices:
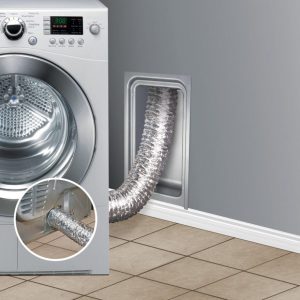
Regular Cleaning: To begin with, ensure that the lint filter is cleaned regularly. Additionally, consider deep-cleaning the dryer vent and ductwork periodically to prevent fire hazards and improve airflow efficiency.
Inspect Hoses and Ducting: Furthermore, regularly check the venting hoses for clogs or damage. A clear path allows for optimal airflow and minimizes the risk associated with excessive heat buildup.
Keep the Area Clear: In addition, make sure the area around the dryer is free from debris and obstructions. Improved airflow contributes to better performance and reduces the risk of overheating.
Use the Right Settings: Lastly, familiarize yourself with the optimal drying settings for your fabrics. This knowledge ensures that you’re not overworking the dryer, which can lead to unnecessary wear on its components.
 Understanding the Cost of Laundry Appliance Repairs
The cost of replacing clothes dryer parts can vary. Having a basic understanding of the cost structure involved will prepare you for any necessary repairs.
- Parts Pricing: Prices of clothes dryer parts can range widely based on brand and model. Basic components like door switches or thermostats may cost as little as 20, while a heating element can run between 40 to $100.
- Labor Costs: If you’re not comfortable performing the repairs, hiring a professional may be a preferred option. Check local rates, but expect labor costs for dryer repairs to range from 75 to 150 per hour, depending on your location.
- Cost-Benefit Analysis: Conduct a cost-benefit analysis before deciding to repair your dryer or replace it altogether. If multiple components are failing, it may be more cost-effective to invest in a new model.
 Conclusion
Being knowledgeable about clothes dryer parts empowers you to diagnose and repair common issues effectively. By identifying and replacing common faulty components, you can enhance your dryer’s performance while saving money on repairs in the long run. Regular maintenance and awareness of symptoms empower you to prevent minor problems from escalating. Caring for your dryer ensures a quicker, more efficient drying process for your laundry without unnecessary hassle.
The satisfaction that comes from repairing your own appliance adds to the overall efficiency of your home chores. Knowing how to manage these common issues enhances your confidence and allows you to keep your clothes dryer running smoothly for years to come.