Why Is My Clothes Dryer Not Drying Clothes All the Way?
Introduction
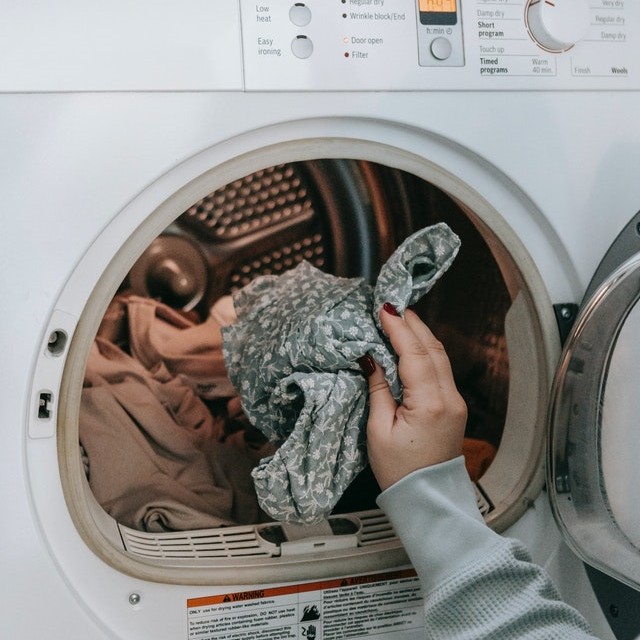
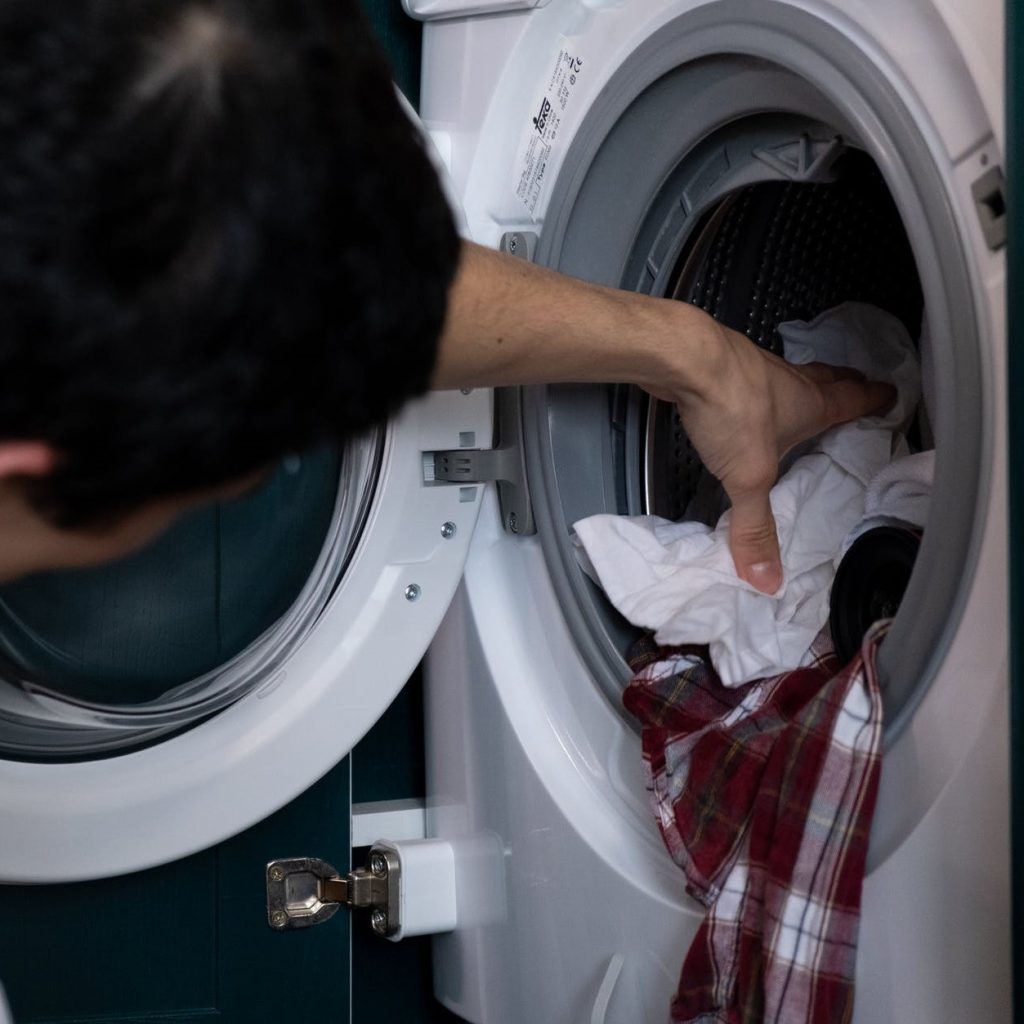
A malfunctioning dryer can turn a simple chore into a frustrating ordeal. One of the most common issues homeowners face is when the dryer not drying clothes all the way. This problem not only extends laundry time but also increases energy consumption and leaves clothes damp, which can lead to unpleasant odors or even mold growth. Understanding the underlying causes and knowing how to address them effectively can restore your dryer’s performance and ensure your laundry routine remains efficient. In this detailed guide, we will explore the various reasons why your dryer might not be drying clothes completely and provide practical solutions to help you fix the issue.
 Identifying the Root Causes of a Dryer Not Drying Clothes All the Way
Dryer not drying clothes all the way? When your dryer fails to dry clothes thoroughly, several factors could be contributing to the problem. Determining the exact cause is crucial before plunging into repairs or replacements. Let’s delve into the most common reasons behind this frustrating issue.
Clogged Ventilation System
A clogged ventilation system is one of the most frequent reasons your dryer might not be drying clothes all the way. Over time, lint and debris accumulate in the dryer vent, which restricts airflow and prevents moisture from escaping efficiently.
How to Inspect and Clean Your Dryer Vent:
Unplug the Dryer: First and foremost, safety should always come first—always disconnect your dryer from the power source before performing any maintenance to avoid any accidents.
Remove the Vent Hose: Next, detach the vent hose from the back of the dryer. At this stage, you can visually inspect the hose for any blockages that may be affecting airflow.
Clean the Hose: Furthermore, utilize a vent brush or a vacuum to thoroughly clean the hose, ensuring that you remove all lint and debris that could hinder your dryer’s performance.
Check the Vent Outlet: Lastly, ensure that the external vent outlet is free from obstructions like leaves or bird nests. Keeping the vent clear is essential for optimal airflow and overall efficiency of your dryer.
Dirty Lint Filter
The lint filter serves as the first line of defense against lint buildup. Therefore, a dirty lint filter can severely hinder your dryer’s performance, reducing airflow and increasing drying times.
Steps to Maintain a Clean Lint Filter:
After Every Use: First and foremost, always remove lint from the filter after each drying cycle. This simple step ensures that airflow remains unimpeded and helps your dryer function efficiently.
Deep Clean Periodically: In addition, every few weeks, wash the lint filter with warm, soapy water to remove any residual oils or fabric softeners that can trap lint. By doing this, you can enhance the filter’s effectiveness and maintain optimal dryer performance.
Inspect for Damage: Furthermore, regularly check the lint filter for signs of wear or cracks. If you notice any damage, be sure to replace it as necessary to maintain effective filtration and ensure your dryer operates at its best.
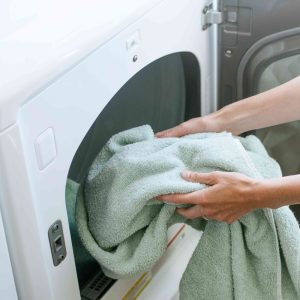
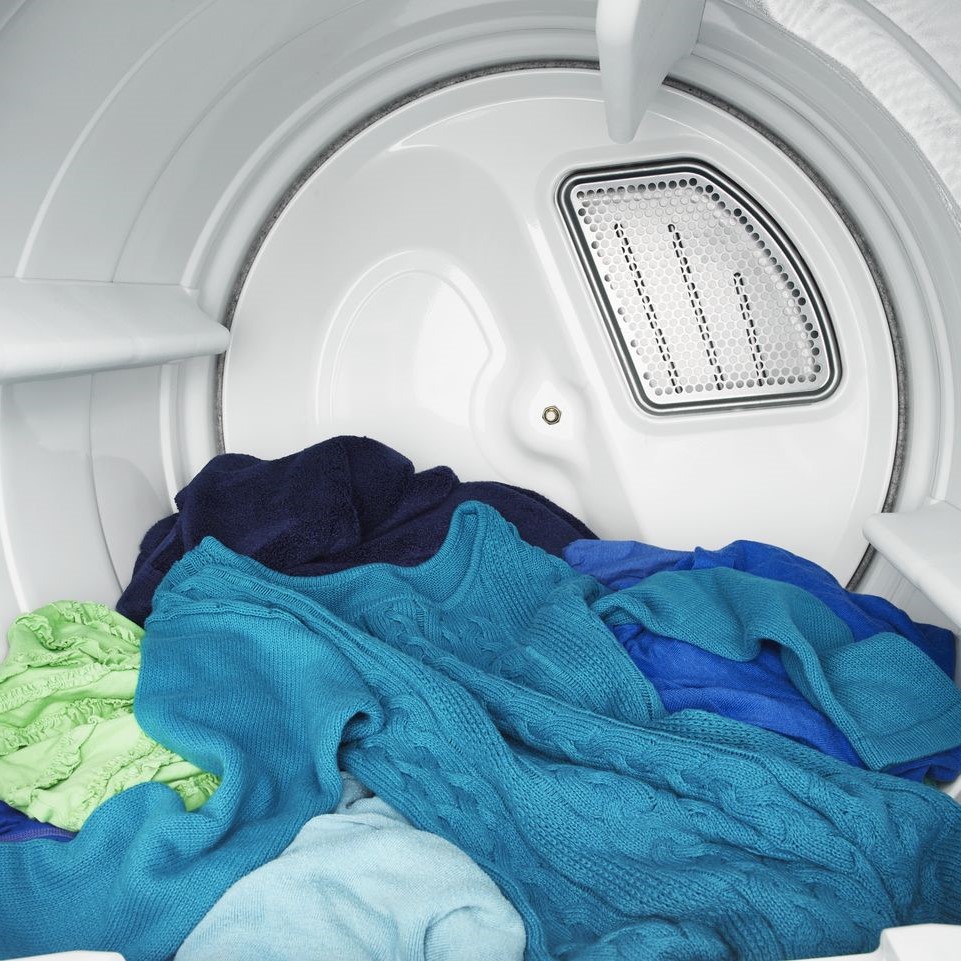
Overloading the Dryer
Overloading your dryer can prevent clothes from tumbling freely, which is essential for thorough drying. As a result, large loads take longer to dry and can cause the dryer to overwork, leading to reduced efficiency and potential mechanical stress.
Best Practices for Loading Your Dryer:
Moderate Load Sizes: First and foremost, follow the manufacturer’s recommendations for load sizes. By avoiding stuffing the dryer to its maximum capacity, you ensure optimal airflow and promote effective drying.
Even Distribution: In addition, distribute clothes evenly around the drum to prevent clumping. This practice helps avoid unbalanced loads, which can hinder drying performance and put unnecessary strain on the dryer.
Separate Heavy and Light Items: Furthermore, avoid mixing heavy items like towels with lighter garments. By separating these different types of fabrics, you can ensure that each dries properly without overburdening the machine, ultimately enhancing its efficiency.
Faulty Heating Element
The heating element is crucial for generating the heat necessary to dry your clothes. Consequently, a malfunctioning heating element can prevent your dryer from producing sufficient heat, which in turn leaves clothes damp and wet.
To ensure your dryer operates effectively, it’s important to monitor the heating element’s functionality. If you notice that your dryer isn’t heating properly, you may need to inspect or replace the heating element to restore optimal drying performance.
Diagnosing and Replacing a Faulty Heating Element
- Unplug the Dryer: Ensure the dryer is disconnected from power to avoid electrical hazards.
- Access the Heating Element: Remove the back panel of the dryer to locate the heating element.
- Test for Continuity: Use a multimeter to check if the heating element has continuity. If the test fails, the element is faulty and needs replacement.
- Replace the Element: Purchase a compatible heating element and follow the manufacturer’s instructions to install the new part.
Malfunctioning Thermostat or Moisture Sensor
The thermostat and moisture sensor are responsible for regulating the drying cycle based on the moisture level in the clothes. If either component fails, the dryer may stop heating prematurely or fail to detect when the clothes are dry, resulting in incomplete drying.
How to Test and Replace Thermostats and Moisture Sensors
- Unplug the Dryer: For safety, disconnect the dryer from the power source.
- Locate the Components: Refer to your dryer’s manual to find the thermostat and moisture sensor.
- Test for Functionality: Use a multimeter to test these components. A lack of continuity indicates a faulty part.
- Replace as Needed: Install new thermostats or moisture sensors if the tests confirm they are malfunctioning.
 Step-by-Step Troubleshooting Guide
If your dryer is not drying clothes all the way, follow this comprehensive troubleshooting guide to identify and fix the problem.
Step 1: Clean the Lint Filter and Ventilation System
Begin by ensuring that both the lint filter and ventilation system are clean.
- Clean the Lint Filter: Remove lint after each use and deep clean the filter with water regularly.
- Inspect and Clean the Vent Hose: Disconnect and thoroughly clean the vent hose using a vent brush or vacuum.
- Check the External Vent: Make sure the outside vent is clear of any debris that might block airflow.
Step 2: Avoid Overloading the Dryer
Evaluate how you load your dryer to ensure it’s not overloaded.
- Moderate Load Sizes: Stick to recommended load sizes to maintain optimal airflow.
- Distribute Clothes Evenly: Spread clothes evenly around the drum to prevent clumping.
- Mix Fabrics Wisely: Separate heavy items from lighter ones to ensure even drying.
Step 3: Inspect the Heating Element
If cleaning and adjusting the load doesn’t solve the problem, inspect the heating element.
- Unplug the Dryer: Disconnect the dryer from power.
- Access the Heating Element: Remove the back panel to locate the heating element.
- Test for Continuity: Use a multimeter to check the heating element’s functionality.
- Replace if Necessary: Install a new heating element if the old one is faulty.
Step 4: Test the Thermostat and Moisture Sensor
Should the heating element work correctly, the issue might lie with the thermostat or moisture sensor.
- Unplug and Access the Components: Disconnect the dryer and locate the thermostat and moisture sensor.
- Test for Functionality: Use a multimeter to check for continuity.
- Replace Faulty Parts: Install new thermostats or moisture sensors if they are defective.
Step 5: Evaluate the Spin Cycle
Sometimes, the dryer’s issue is not with the dryer itself but with the washing machine’s spin cycle.
- Check the Washing Machine: Ensure that the washing machine is spinning clothes effectively before transferring them to the dryer.
- Adjust Spin Settings: Use higher spin speeds for heavily soiled or thick fabrics to reduce drying time.
 Preventative Maintenance to Avoid Future Drying Problems
Regular maintenance is key to preventing your dryer from not drying clothes all the way in the future.
Regularly Clean the Lint Filter and Vent System
Frequent cleaning of the lint filter and vent system ensures that airflow remains unobstructed, thereby maintaining your dryer’s efficiency. Moreover, by prioritizing regular maintenance, you can prevent lint buildup that could lead to overheating or potential fire hazards.
Avoid Overloading
Always monitor the size of your loads to ensure that your dryer operates within its optimal capacity. This not only promotes even drying but also reduces wear on the machine.
Schedule Routine Inspections:
First and foremost, periodically inspecting key components like the heating element, thermostat, and moisture sensor is crucial for identifying and addressing potential issues early. Consequently, by staying proactive with these inspections, you can ensure that your dryer operates efficiently and prevent larger problems down the line.
Use Dryer Balls:
Additionally, adding dryer balls to your load can significantly improve airflow and reduce drying time. These handy tools work by separating your clothes, allowing hot air to circulate more freely throughout the load, which enhances drying efficiency.
Maintain Optimal Dryer Placement:
Furthermore, ensure that your dryer is placed in a well-ventilated area with ample space around it for proper airflow. Avoiding cramped spaces that restrict ventilation will help your dryer function effectively and prolong its lifespan.
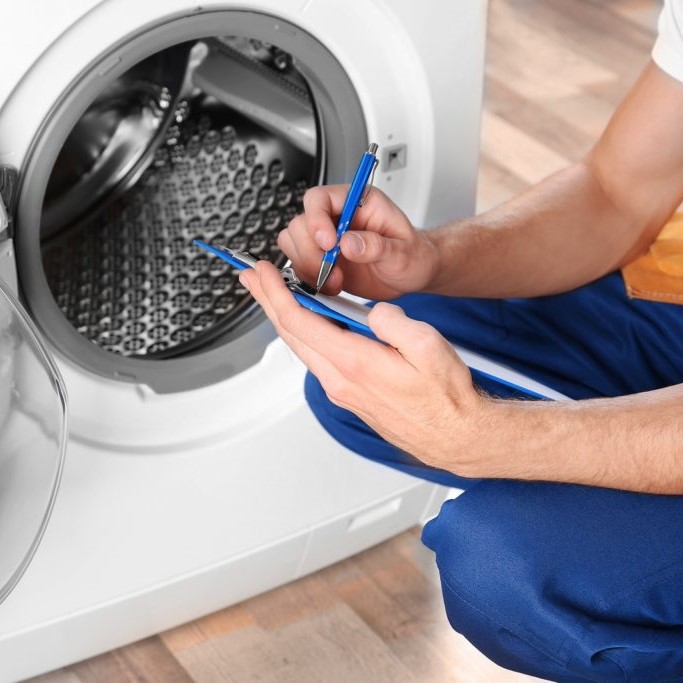
 When to Call a Professional
While many dryer issues can be resolved with basic troubleshooting, there are times when professional assistance is necessary.
Complex Electrical Issues
If you suspect electrical problems, such as issues with the control board or internal wiring, it’s best to consult a professional technician. Attempting to fix complex electrical components without expertise can be dangerous.
Persistent Problems After Troubleshooting
If you’ve followed all troubleshooting steps and the dryer still isn’t drying clothes properly, seek professional help. A technician can perform a detailed diagnosis and provide specialized repairs that basic troubleshooting might miss.
Warranty Repairs
If your dryer is still under warranty and experiencing drying issues, contact the manufacturer or retailer for repair or replacement options. Attempting to fix the machine yourself may void the warranty, so follow the appropriate channels for warranty-covered repairs.
Enhancing Dryer Efficiency: Additional Tips
Beyond troubleshooting and maintenance, several strategies can enhance your dryer’s efficiency and ensure that it dries clothes completely every time.
Use the Correct Drying Cycle:
First and foremost, selecting the appropriate drying cycle based on fabric types can significantly improve drying efficiency while also protecting your clothes from unnecessary wear. Therefore, refer to your dryer’s manual to understand which cycles are best suited for different loads.
Clean the Dryer Drum:
In addition, regularly cleaning the dryer drum is essential for preventing residue buildup from dryer sheets, fabric softeners, and lint. To maintain optimal performance, simply wipe down the drum with a damp cloth to remove any particles that could hinder its effectiveness.
Optimize Drying Time:
Furthermore, understanding the drying time required for different fabrics can help you set the right duration for each load. By doing so, you can avoid over-drying, which not only leads to wasted energy but can also cause damage to your clothes.
Upgrade to Energy-Efficient Models
If your dryer is old or inefficient, consider upgrading to a newer, energy-efficient model. Modern dryers come with advanced features that reduce energy consumption while improving drying performance, making them a worthwhile investment.
 Conclusion
Experiencing a dryer not drying clothes all the way can be incredibly frustrating, but with the right knowledge and approach, you can effectively troubleshoot and resolve the issue. By following the steps outlined in this guide, you can identify common problems such as clogged vents, dirty lint filters, overloaded loads, and faulty components like the heating element or moisture sensors. Furthermore, implementing regular maintenance practices and best usage techniques can prevent future drying problems and extend the life of your dryer.
Finally, understanding why your dryer is not drying clothes all the way empowers you to take proactive steps in maintaining your appliance’s performance and ensuring that your laundry routine remains smooth and efficient. Embrace these strategies and tips to enjoy a fully functional dryer that delivers clean, dry clothes every time, enhancing both your convenience and comfort at home.