Washing Machine Agitator Not Working: Step-by-Step Guide
Common Reasons Why Your Washing Machine Agitator Stopped Working
Troubleshooting a ‘washing machine agitator not working’ issue begins with understanding common causes. Several factors can halt the operation of your washing machine’s agitator. It could be due to electrical mishaps, worn-out parts, or loading issues. Sometimes, a simple overload can prevent the agitator from moving. In other cases, a failure in the drive belt or motor can be the culprit. By knowing what to look for, fixing the problem becomes easier.

Types of Washing Machine Agitators
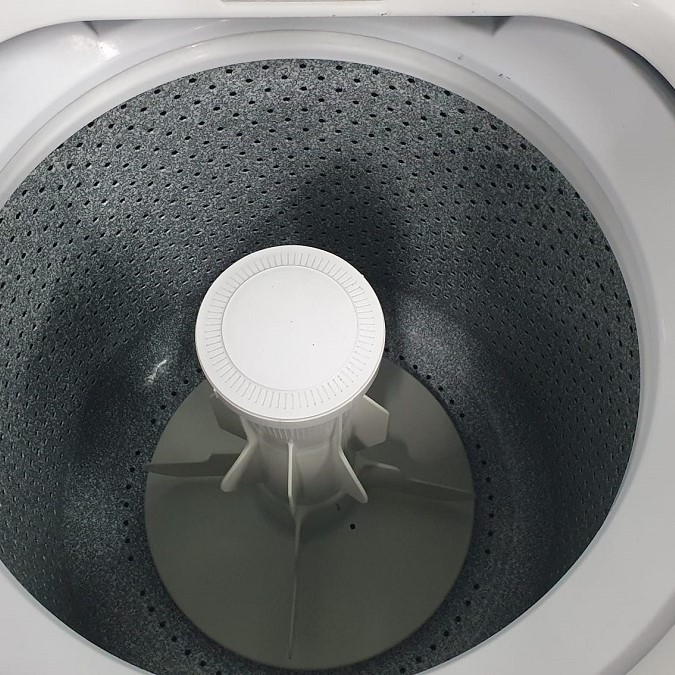
Different washing machines use different types of agitators. Some models have dual-action agitators which move in two directions for a more thorough clean. Others employ a single-action agitator that moves only in one direction. Knowing the type of agitator in your machine is crucial for proper diagnosis and repair.
Mechanical Failures
Mechanical failures are often at the heart of an agitator breakdown. This could range from a stripped agitator spline, which will need a replacement, to a seized motor. Faulty transmission can also stop the agitator from working. A broken drive belt is a common mechanical issue too. Identifying these failures requires a careful inspection and, often, a bit of mechanical know-how.
Tools Needed to Fix a Washing Machine Agitator
Before starting your repair, make sure you have the right tools and materials on hand. Proper preparation can make the process smoother and ensure that you do not encounter unnecessary delays. Here is a list of essential items you will need:
Required Tools and Materials
- Socket wrench set: To remove and secure nuts and bolts.
- Screwdrivers (flat-head and Phillips): For various screws in the machine.
- Pliers: To grip and pull parts if necessary.
- Putty knife or a flat tool: For prying out the cap or fabric softener dispenser.
- Replacement parts: Such as a new agitator, drive belt, or coupler, depending on the issue.
- Towels or rags: To clean up any spills and to lay down on the floor for a work area.
- Lubricant (like WD-40): If any parts are sticking or need to be loosened.
It’s also good to have your washing machine’s manual handy, in case you need specific instructions or information about parts.
Safety Precautions
Safety should be your top priority. Before you begin work on your washing machine, here are some safety tips to keep in mind:
- Unplug the appliance: Always disconnect your washing machine from the power source.
- Wear protective gear: Gloves can protect your hands from sharp objects and detergents.
- Keep your workspace clean and dry: To prevent trips and falls.
- Do not force parts: Applying excessive force can break parts or cause injury.
- Check for water sources: Ensure that the machine’s water supply is turned off to avoid any accidental flooding.
Taking these precautions will help prevent accidents and create a safer repair environment, making the ‘washing machine agitator not working’ issue a thing of the past.
Initial Diagnosis and Troubleshooting
Before diving into the repair work, the initial diagnosis is key to identifying why your washing machine agitator is not working. It’s important to systematically approach the troubleshooting steps to avoid missing any underlying issues. Proper diagnosis can also save time and prevent unnecessary repairs. Here are the crucial steps to effectively diagnose the problem at hand.
Steps to Identify the Problem
To start, inspect the washing machine when it’s supposed to be agitating. Is it silent or making strange noises? Check if the machine is receiving power and all the settings are correctly configured. Next, examine the interior of the drum for any foreign objects or clothing that might be preventing the agitator from moving. After a visual check, verify whether the lid switch functions properly, as a faulty switch can stop the agitator. These preliminary steps can often shine a light on the issue without the need for further disassembly.
Testing the Agitator’s Movement
After the initial assessment, it’s time to test the agitator’s movement. To do this, manually rotate the agitator with your hands. It should move freely in one direction and lock in the opposite, depending on your type of agitator. If it’s stuck or too loose, this suggests a problem with the agitator itself or its connecting components, such as the drive belt or the motor. If you find resistance or grinding sounds, this could indicate mechanical issues that need closer inspection. This step is crucial in pinpointing the specific part that may require repair or replacement.
 Detailed Repair Instructions
After diagnosing the issue with your washing machine agitator, it’s time to carry out repairs. Proper attention to detail and following instructions closely will ensure a successful fix. Always refer to your washer’s manual for any model-specific guidelines during the entire process.
Disassembling the Agitator
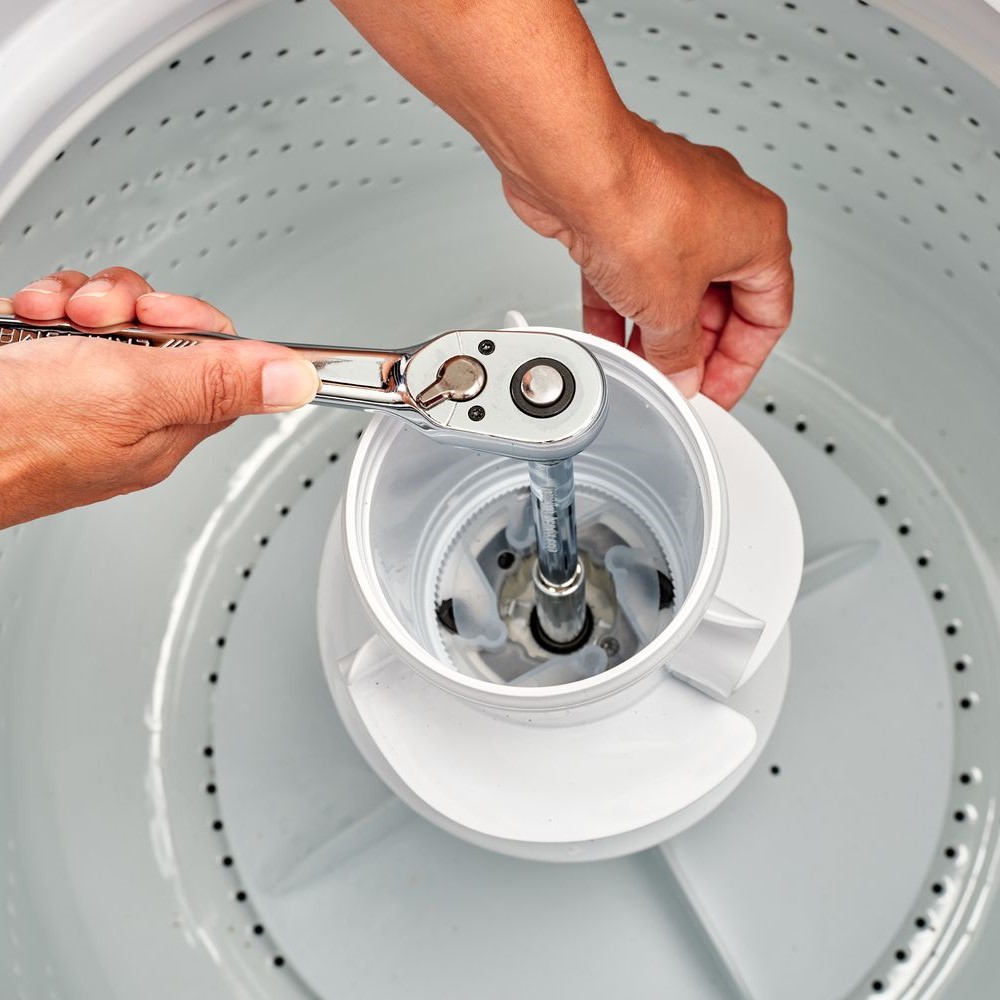
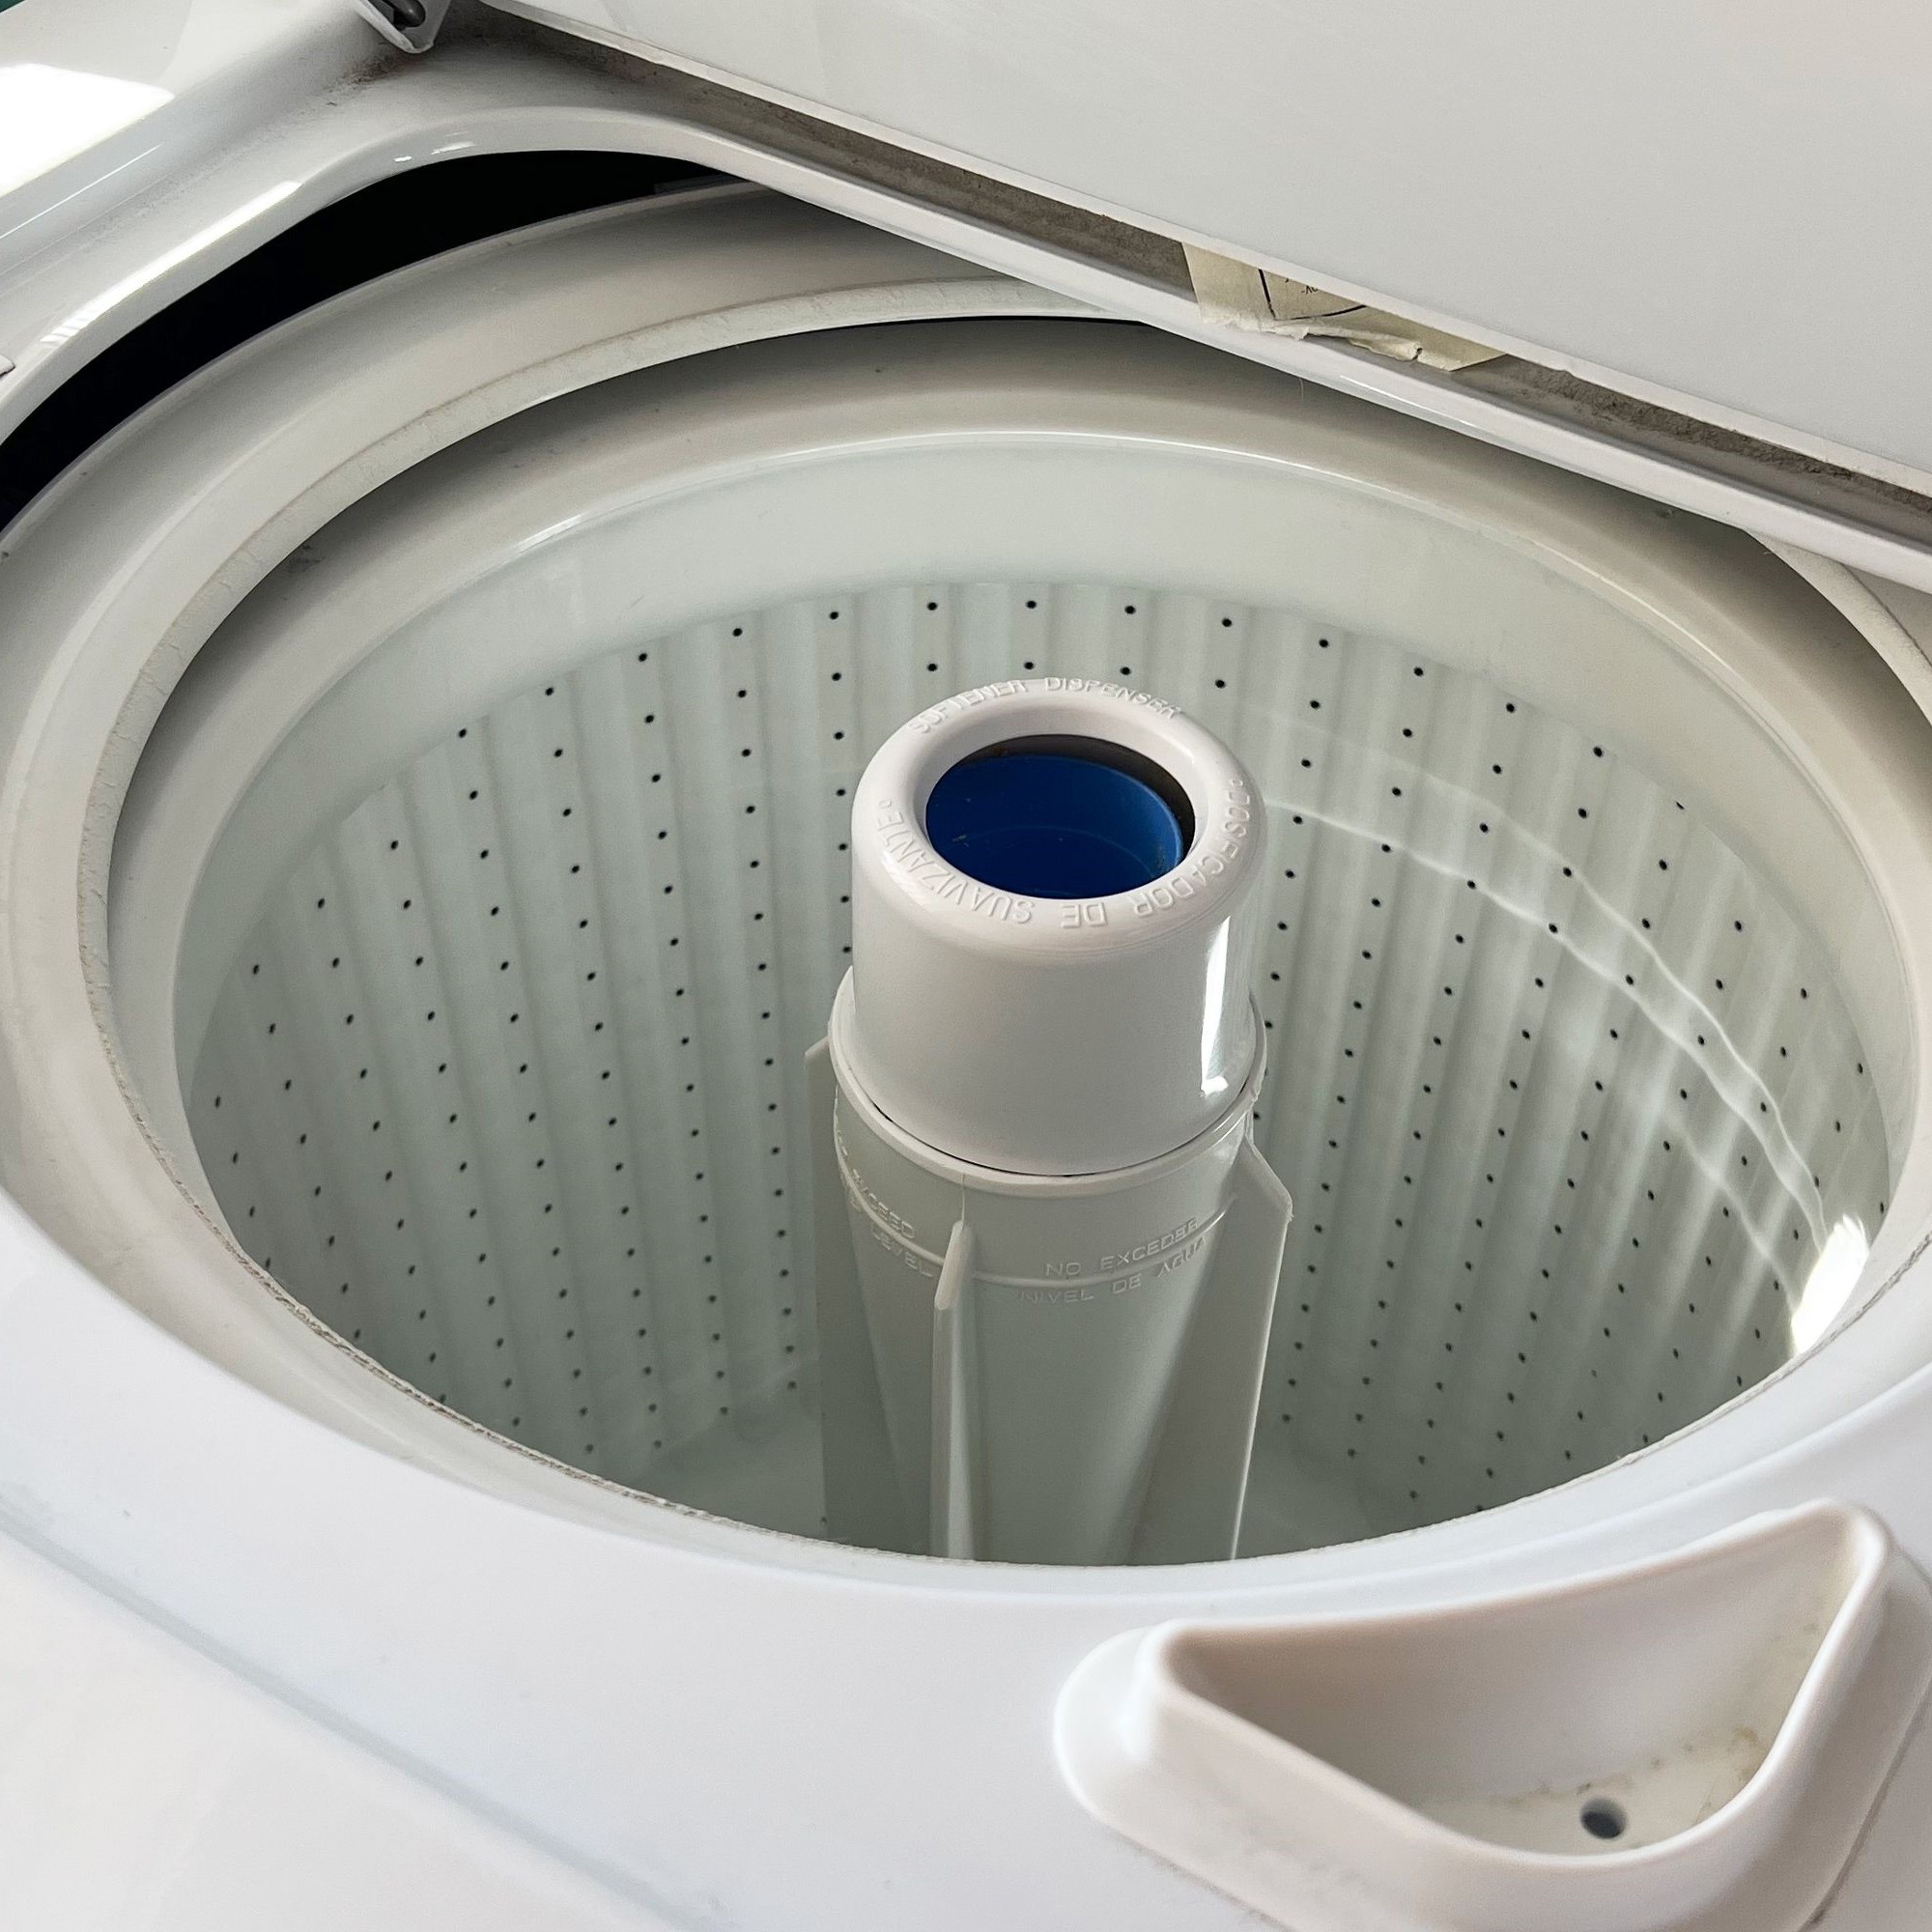
Disconnect your washing machine from the power source. Remove the softener dispenser or the cap on top of the agitator using a putty knife or flat tool. Underneath, you’ll find a bolt or nut securing the agitator to the transmission shaft. Use a socket wrench to remove this fastener. You may need to rock the agitator gently back and forth as you pull it up and out of the washing machine.
Take care not to damage any components. Keep all parts you remove in a safe place. Sometimes, agitators are comprised of multiple sections that come apart as you pull them out of the machine.
Replacing or Repairing Parts
Examine the agitator and its components once it’s out. Look for obvious signs of wear or damage. If you find the agitator stripped or damaged, replace it with a new one. A worn-out drive belt or a damaged coupler often needs replacing as well.
Install the new parts by reversing the disassembly process. Secure the new agitator onto the shaft with the bolt or nut you initially removed. Ensure it’s tightened properly, but do not overtighten, as this may cause new issues.
Using the right tools and taking extra care during the repair process makes the ‘washing machine agitator not working’ problem manageable. Follow these detailed instructions and take the first step towards a fully functioning washing machine.
Preventive Maintenance Tips
Maintaining your washing machine agitator can extend its life and prevent issues. Regular checks and upkeep can help avoid the ‘washing machine agitator not working’ problem. Here are some tips to ensure its longevity.
Regular Upkeep and Cleaning
To keep your washing machine agitator in top shape, perform these simple tasks regularly:
- Check for loose threads and debris: Look around the agitator for any foreign objects after each wash cycle.
- Clean with mild detergent: Wipe the agitator with a cloth dampened with a gentle cleanser to remove detergent residue.
- Inspect for wear: Regularly check for signs of wear or damage, especially after a heavy load.
- Avoid overloading: Overloading your washing machine can strain the agitator, so keep loads appropriate to the size of your machine.
By following these upkeep steps, you can often prevent the need for repairs.
When to Seek Professional Help
Sometimes, despite your best efforts, issues may arise that require a professional’s touch. Here’s when to call an expert:
- Persistent issues: If troubleshooting doesn’t fix the problem, a technician may need to assess it.
- Complex repairs: If you’re unsure about a repair or uncomfortable with taking apart your machine, seek assistance.
- Warranty concerns: Check your washing machine’s warranty; some repairs may need to be done by a professional to avoid voiding it.
Remember, timely professional intervention can save you from costly repairs in the long run.
Final Testing and Operation
After you’ve replaced or repaired parts of the washing machine agitator, it’s crucial to perform final testing. This ensures that everything is in order and your washing machine is ready to go back into service.
Ensuring Correct Installation
Before plugging in the machine, examine all connections and installations. Recheck the tightness of the nut or bolt securing the agitator. Make sure no tools or loose parts remain inside the washer. Verify that the agitator sits correctly on the drive shaft and that any clips or retainers are properly installed.
Operational Testing Post-Repair
Now, plug in the washing machine and run a short cycle without laundry. Observe the movement of the agitator; it should rotate or oscillate smoothly. Listen for any unusual sounds that could indicate a problem. If the machine doesn’t work as expected, stop the cycle immediately and recheck your work.
After successfully completing these steps, your ‘washing machine agitator not working’ issue should be resolved. Your appliance is now ready to tackle the laundry once again. Regular maintenance, as previously outlined, will help prevent similar issues in the future.
 FAQs on Washing Machine Agitator Repair
When dealing with a ‘washing machine agitator not working’ issue, you might have questions. It’s essential to address these frequently asked questions for a smooth repair process.
Common Issues and Fast Fixes
- Agitator not moving? Check for an overloaded machine or a tripped circuit breaker first. Remove excess clothing and reset your home’s circuit breaker if needed.
- Hear a grinding sound? This could be a sign of a worn-out drive belt or gears. Examine the belt and replace it if it looks frayed or broken.
- Machine won’t start? Ensure the washing machine is plugged in and the power outlet functions. Test the outlet with another appliance to confirm.
- Agitator spins freely by hand? This might mean the agitator’s dogs are worn. Look for these small parts within the agitator and consider replacing them.
- Is the agitator slipping? A damaged coupler could be the issue. Inspect it and replace it if you find any cracks or damage.
- Still not working? If you’ve tried these fixes and the agitator still won’t work, it might be time to call a professional. They can diagnose and solve more complex problems.
By tackling these common queries, you can often resolve simple issues quickly. For more complex or persistent problems, don’t hesitate to seek professional help. Remember to perform regular maintenance on your washing machine to prevent future issues with the agitator.

