Fixing Whirlpool Washer Woes: Resetting Your Machine
Introduction to Whirlpool Washer Reset
Experiencing trouble with a Whirlpool washing machine can disrupt your daily chores. From cycle glitches to odd noises, these hiccups can hinder the machine’s performance. Before calling a technician or considering a replacement, a simple reset may be all you need. In this section, we’ll explore the basics of how to reset your Whirlpool washing machine.
Why a Reset May be Necessary
Resetting your Whirlpool washer can often solve minor issues without professional help. There are several situations where a reset can restore your machine to proper function:
- Error Codes: Your washer might display error codes signaling specific faults. A rest can often resolve these errors.
- Unresponsive Controls: If pressing buttons does nothing, it suggests a reset could help.
- Interrupted Cycles: Should a power outage stop a cycle, a reset might fix the problem.
- Performance Issues: Sluggish draining or spinning may improve after a reset.
Keep in mind, resetting is a first step. It’s simple and can save you both time and money. We’re going to cover the steps and provide you with the knowledge needed to reset your Whirlpool washing machine yourself.
Identifying the Need for a Reset
Recognizing when your Whirlpool washing machine needs a reset is key to quick fixes. Let’s delve into situations that signal a reset could help.
Understanding Error Codes
When your washer flashes an error code, it’s telling you there’s a problem. A reset might clear the code and fix the issue. For persistent codes, consult the manual.
Dealing with Unresponsive Controls
If button presses do nothing, a reset might wake them up. This can tackle glitches or power surges that cause such freezes.
Handling Interrupted Cycles
Power outages or an opened door can halt cycles. A reset helps your machine start over and properly finish the job.
Troubleshooting Performance Issues
Issues like slow draining or heavy vibrating can mean it’s time for a reset. This often improves the washer’s performance and solves minor malfunctions.
Step-by-Step Guide to Resetting Your Whirlpool Washer
Encountering issues with your Whirlpool washer can be a hassle. A reset can often fix these problems. Follow this easy guide to reset your machine and get back to your routine.
Unplugging and Power Drain Method
Start by disconnecting your washer. Pull the plug from the socket and wait. One minute is enough for the machine to lose any leftover power. After waiting, reconnect the washer. Make sure the plug fits well and the power flows again.
Door Opening Technique for Control Board Reset
Some Whirlpool washers need an extra step. After plugging in, open and shut the door six times. Do this within 12 seconds. This action helps reset the control board. Once done, pick a new cycle and hit start. Your washer should now work as expected.
Model-Specific Reset Instructions
Navigating the reset process for different Whirlpool washer models ensures effective solutions. Each model has unique steps for a reset.
Advanced Reset for Front-Load Washers
For front-load Whirlpool washers, start by unplugging the machine and waiting a minute. This drains lingering power. Then, plug it back in and press the “Power” button for 30 seconds to reset the control board.
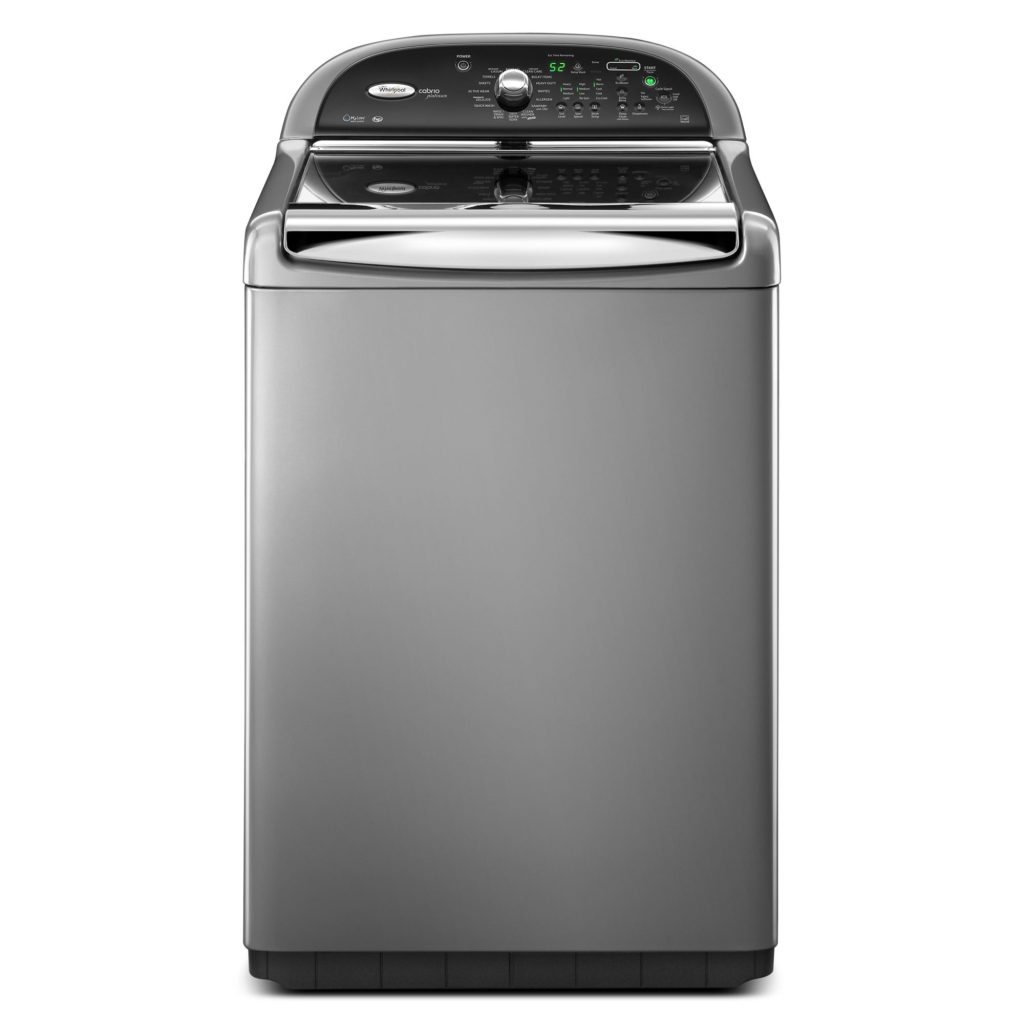
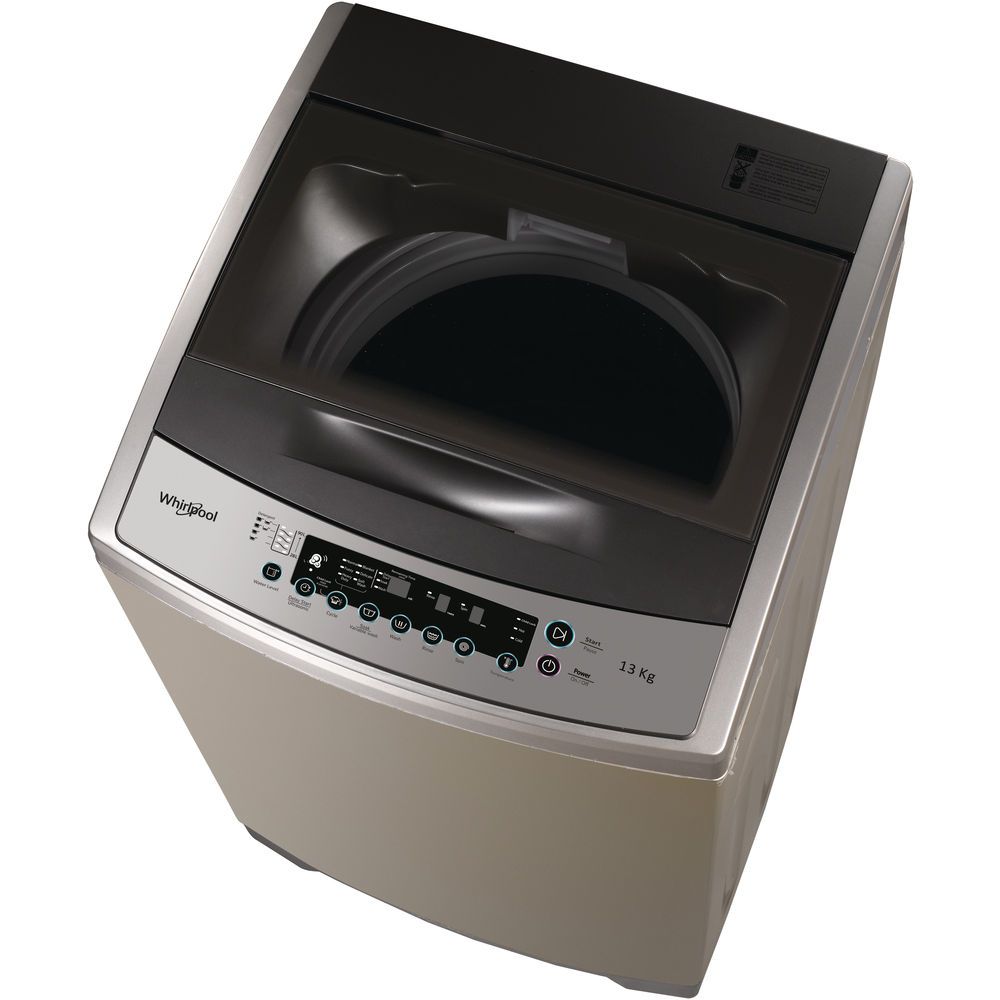
Resetting Top-Load Washer Models
Owners of top-load Whirlpool washers can reset by setting the cycle selector to “Normal.” Then, turn it one click left, three clicks right, one left, and one right. Push the start button to begin a new cycle post-reset.
High-Efficiency Washer Calibration Post-Reset
After resetting high-efficiency models, a calibration cycle is often needed. This ensures the washer works correctly. Your manual will have the calibration instructions specific to your model. Following these steps helps troubleshoot and often resolves any lingering issues.
Beyond the Reset: Troubleshooting Additional Issues
Sometimes, a reset might not fix all problems in your Whirlpool washing machine. Here’s what to do next.
Resolving Persistent Error Codes
When error codes keep showing up, it’s time to dig deeper. Check your machine’s manual to understand the code. If the manual suggests steps, try them out. For those tricky codes that stay, reaching out for professional help might be best.
Clearing Obstructions in Your Washer
Objects stuck in your washer can cause trouble. Look for and remove any blockages in the drum, pump filter, or hoses. Small items like coins or lint are often the culprits. After clearing these, your washer might go back to normal.
Checking and Ensuring Proper Power Supply
Your washer needs good power to run. Make sure its cord is plugged in right. Check the outlet and your home’s circuit breaker too. If these look fine but problems persist, the issue might be inside the washer. In this case, a technician’s help could be needed.
Tips for Regular Washer Maintenance
Keep your Whirlpool washer running well with routine care. Clean the drum and dispensers often. Wipe the door seal to stop mold. Keep your washer level to prevent it from shaking too much. These steps help avoid many common washer issues.
The Importance of Using Genuine Whirlpool Parts
When repairing your Whirlpool washing machine, using genuine parts is crucial. Genuine parts, also known as Original Equipment Manufacturer (OEM) parts, ensure your machine operates as intended. They are designed specifically for Whirlpool washers, which helps maintain the quality and performance of your appliance.
Advantages of OEM Parts for Your Washer
There are key benefits to using OEM parts for your Whirlpool washer repairs:
- Perfect Fit and Compatibility: Genuine parts are made to match the exact specifications of your washer, ensuring a perfect fit and avoiding issues that can arise from using generic components.
- Reliability and Performance: OEM parts are tested and approved by Whirlpool, guaranteeing they will work reliably and help keep your washer running at peak performance.
- Warranty Preservation: Using non-OEM parts can often void your washer’s warranty. By opting for genuine parts, you maintain warranty coverage and protect your investment.
- Longevity: High-quality OEM parts can help extend the lifespan of your washing machine, preventing the need for more frequent repairs and replacements.
- Safety: Genuine parts comply with safety standards set by Whirlpool, reducing the risk of hazards that could be posed by third-party components.
Remember, while it may be tempting to save money with off-brand parts, the long-term costs due to potential repairs, performance issues, and safety risks can outweigh the initial savings. Always choose genuine Whirlpool parts to keep your washing machine functioning efficiently and safely.
 Conclusion: Ensuring Optimal Performance of Your Whirlpool Washer
To wrap up, resetting a Whirlpool washer can clear up many basic issues. Here’s a quick rundown to ensure your machine runs smoothly:
- Use the Reset: When you face errors, unresponsive controls, or cycle hiccups, try how to reset your Whirlpool washing machine first.
- Seek Fixes: If a reset doesn’t work, look for persistent errors, obstructions, or power supply issues. Often, these steps can get things back on track.
- Maintain Regularly: Clean your washer often and keep it level. This helps prevent future problems.
- Stick to OEM Parts: If you need a part, go for genuine Whirlpool parts. They fit right, last longer, and keep your machine safe.
Understanding how to reset your Whirlpool washing machine is a vital skill for any homeowner. A reset can resolve various common issues, restoring functionality and prolonging the lifespan of your appliance.