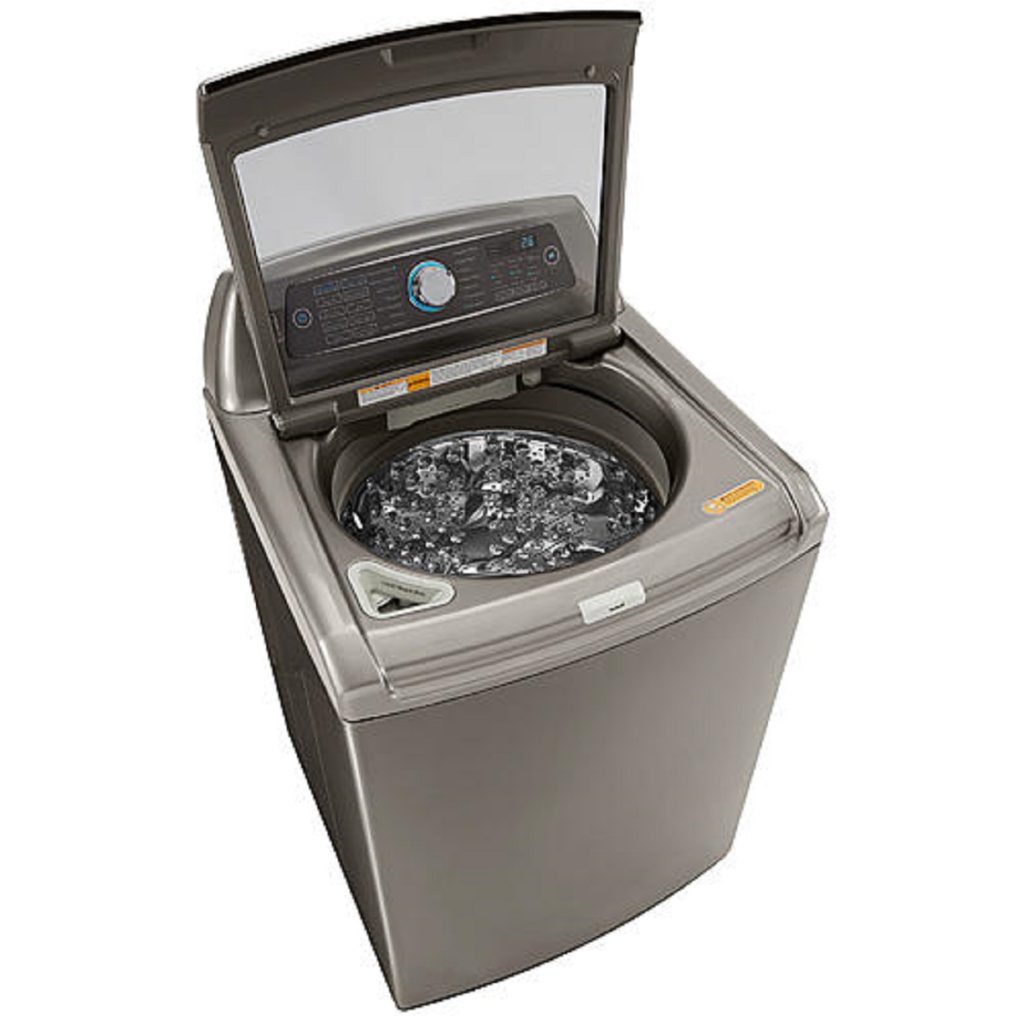
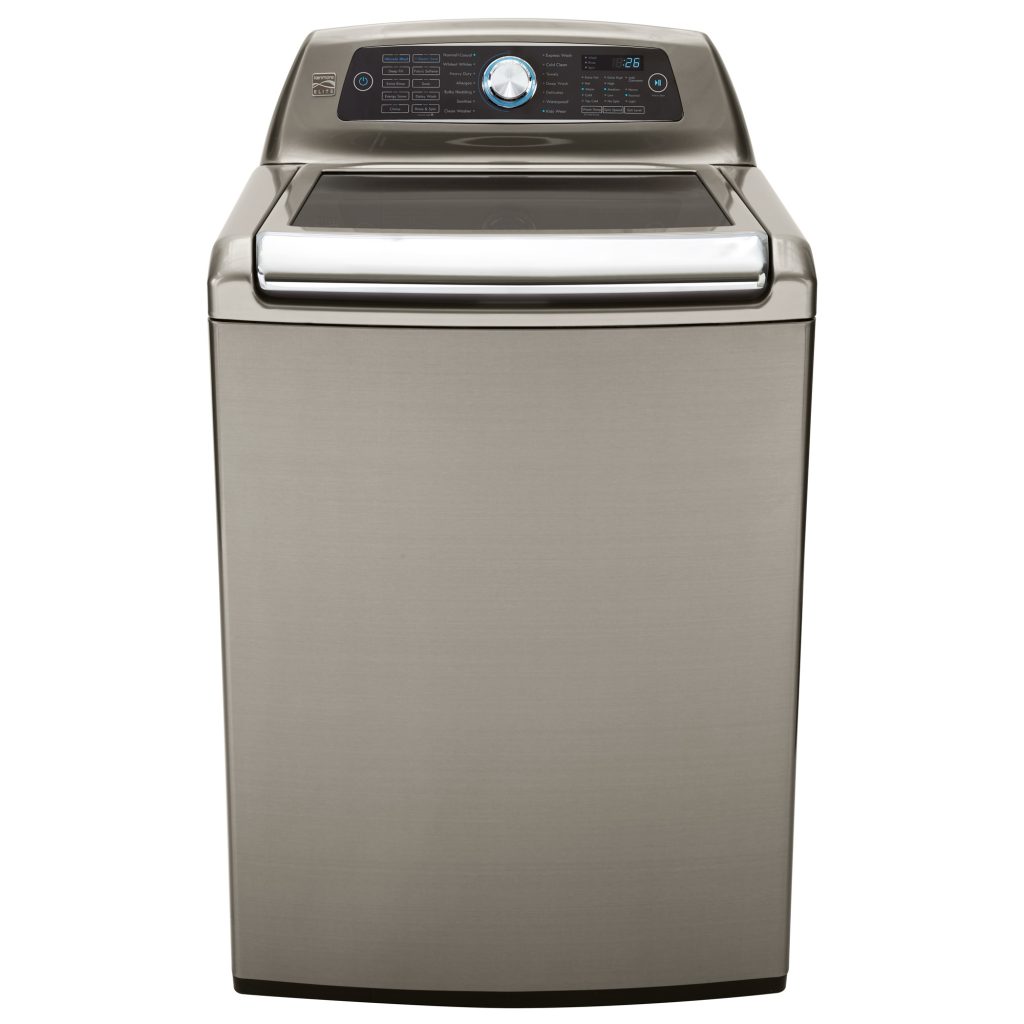
Why Kenmore Washing Machine Leaking Water From Underneath?
Introduction
If you own a Kenmore washing machine and have encountered the frustrating issue of water leaking from underneath, you’re not alone. Leaks can arise from various components, leading to potential damage to your appliance as well as your home. Understanding the reasons behind this leak, along with potential solutions, can save you time, money, and headaches in the long run. In this guide, we will explore common causes of leaks, steps for diagnosing the problem, possible repairs, and preventative maintenance measures to ensure that your machine remains in good working order.
Understanding the Common Causes of Leaks
Overloading the Washer
One of the most common reasons for a Kenmore washing machine leaking water from underneath is overloading. When too many clothes are crammed into the drum, the washing machine can struggle to agitate properly, causing excess suds and water to escape through the door or vents.
How Overloading Affects Washing Machine Performance
Overloading can lead to several performance issues, including:
- Reduced cleanliness due to inadequate washing action.
- Increased wear on components like belts and seals.
- Potential misalignment of the drum, which can result in further leaks.
To avoid these issues, always adhere to the manufacturer’s loading guidelines, ensuring that your Kenmore unit is filled appropriately.
Deteriorated Hoses and Connections
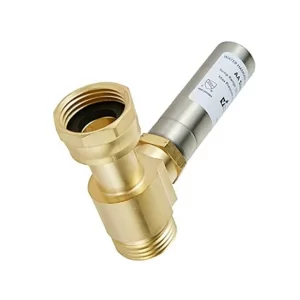
Another prevalent issue leading to leaks is deteriorated hoses and connections. Over time, hoses can wear out, crack, or become loose, resulting in water leaks.
Types of Hoses to Inspect
- Fill Hoses: These connect to your home’s water supply and can wear out over time.
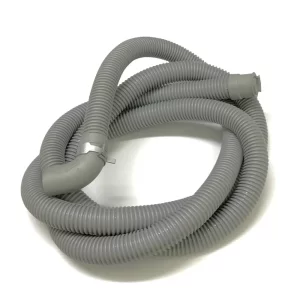
- Drain Hose: If damaged, water can leak during the spin or drain cycles.
- Internal Hoses: Inside the machine, various hoses transport water; any damage here can lead to leaks.
Regularly inspecting these hoses for signs of wear, such as cracks or bulges, is essential for preventing leaks.
Damaged Door Seal
The door seal, often made from rubber, can wear over time. A damaged or improperly sealed door can allow water to leak during a wash cycle, resulting in pools of water forming beneath your machine.
Identifying a Damaged Door Seal
To check for damage:
- Visually inspect the seal for cracks, tears, or mildew.
- Run your finger along the seal to ensure it’s making contact with the door surface.
- Conduct a simple water test: fill the machine with water and observe if there are drips around the door area.
Faulty Water Pump
The water pump is a critical component responsible for draining water from the washing machine. If the pump becomes faulty, it could lead to leaks during the draining process.
Signs of a Defective Water Pump
Look out for:
- Loud noises during the drain cycle.
- Water pooling at the base of the machine.
- A malfunctioning washer that leaves clothes soaking wet after a cycle.
If you suspect the water pump is at fault, you may need to consult a professional for repairs or replacements.
Diagnosing Your Kenmore Washing Machine Leak
Visual Inspection
Before jumping to conclusions, it is crucial to carry out a thorough visual inspection to identify the source of the leak.
- Check the Floor: Ensure that the floors surrounding the appliance are dry. If they are wet, follow the water trail back to the machine.
- Inspect Hoses and Connections: Begin with fill and drain hoses, ensuring they are tightly secured and show no signs of damage.
- Examine the Door Seal: As discussed earlier, inspect the door seal for any signs of wear or damage.
Conduct a Test Cycle
After performing a visual inspection, it’s helpful to run a test cycle to isolate when the leak occurs:
- Fill the Machine: Start a cycle, allowing the washer to fill with water.
- Observe Closely: Watch for leaks as the washer fills. If no leaks occur at this stage, continue to the next steps.
- Activate Spin Cycle: Notice whether leaks appear during spinning or draining. This will help determine if the issue lies with the water pump or hoses.
Use Towels for Detection
For persistent leaks, laying towels around the machine during a test cycle can help catch water in different areas. After the cycle, assess where the towels are wet, which may indicate the leak’s source.
Repairing Common Leaks
Fixing Overloads
If the leak is due to overloading, simply adjust how you load your machine. Adhering to the manufacturer’s guidelines can enhance performance and prevent leaks.
Replacing Worn Hoses
If a hose is found to be damaged, you can typically replace it quite easily:
- Unplug the Machine: Always disconnect power for safety.
- Remove the Old Hose: Use pliers to carefully disconnect the damaged hose.
- Install the New Hose: Securely attach the new hose and ensure there are no leaks.
- Test the Machine: Run a cycle to ensure there are no leaks.
Repairing the Door Seal
If the door seal is damaged, replacing it is usually straightforward:
- Purchase a Replacement Seal: Ensure you get a seal compatible with your Kenmore model.
- Remove the Old Seal: Carefully pull off the damaged seal to avoid damaging the door.
- Install the New Seal: Fit the new seal in place, ensuring it is snug around the entire perimeter.
- Test the Sealing: Run a cycle and check for leaks.
Water Pump Replacement
If the water pump is faulty, replacing it may take a little more expertise:
- Unplug the Washer: Safety must come first.
- Remove the Access Panel: Depending on your model, you may need to remove screws to locate the pump.
- Disconnect the Pump: Detach hoses and wires connected to the pump.
- Replace: Install the new pump and reconnect hoses and wires.
- Reassemble the Machine: Put everything back in place and test a wash cycle.
 Preventative Maintenance Tips
Regular Inspections
Routine inspections of your Kenmore washing machine can help catch potential issues before they escalate. Look out for signs of wear on hoses, the door seal, and other crucial components.
Clean the Filter
Most Kenmore models come equipped with a filter that can get clogged over time. Regularly cleaning this filter can improve drainage and prevent backups, thus reducing the likelihood of leaks.
Avoid Excessive Suds
Using the correct amount of detergent is crucial. Too much detergent can create excess suds that may leak out during cycles. Always adhere to the manufacturer’s recommended amount for your specific machine.
Level the Machine
An unlevel washer can lead to uneven loads and potential leaks. Ensure your washing machine is on a flat, sturdy surface. You can adjust the feet of the machine to level it appropriately.
Attend to Strange Noises
If you notice unusual sounds during operation, don’t ignore them. Strange noises can indicate issues such as warped drums, malfunctioning pumps, or other mechanical problems that could lead to leaks.
Professional Servicing
Lastly, consider getting your washing machine regularly serviced by a professional. An expert can perform thorough checks and maintenance that can extend the life of your washer and help prevent leaks.
Conclusion
Experiencing a leak with your Kenmore washing machine can be concerning, but understanding the common causes and potential solutions can help you address the problem effectively. From overloading to worn hoses and door seals, each factor plays a critical role in maintaining the integrity of your washing machine. Regular maintenance, coupled with timely repairs, can help ensure that your appliance remains leak-free for years to come. If you find yourself facing the challenge of a Kenmore washing machine leaking water from underneath, consider this guide as a roadmap to resolve the issue efficiently and safeguard your investment. With the right knowledge and proactive approach, you can keep your appliance performing at its best, while protecting your home from the consequences of leaks.